 This is a sponsored post in partnership with Pyrex. All opinions are my own.
T-minus 10 days to the big day that is Thanksgiving, my super bowl, my yearly pièce de résistance.
I love it all mainly because of the food, always the food, but I also love to just sit around and get that two-fer one of hanging out with friends and family and getting to enjoy foods that have a level of comfort that not much else can reach.
This year I teamed up with Pyrex to test run my first year hosting skills for a Friendsgiving, taking the helm of what might be the most important part: the dessert table. For me, the Friendsgiving idea is so perfect because it usually means everyone brings something so it’s less work for me, something I always welcome.
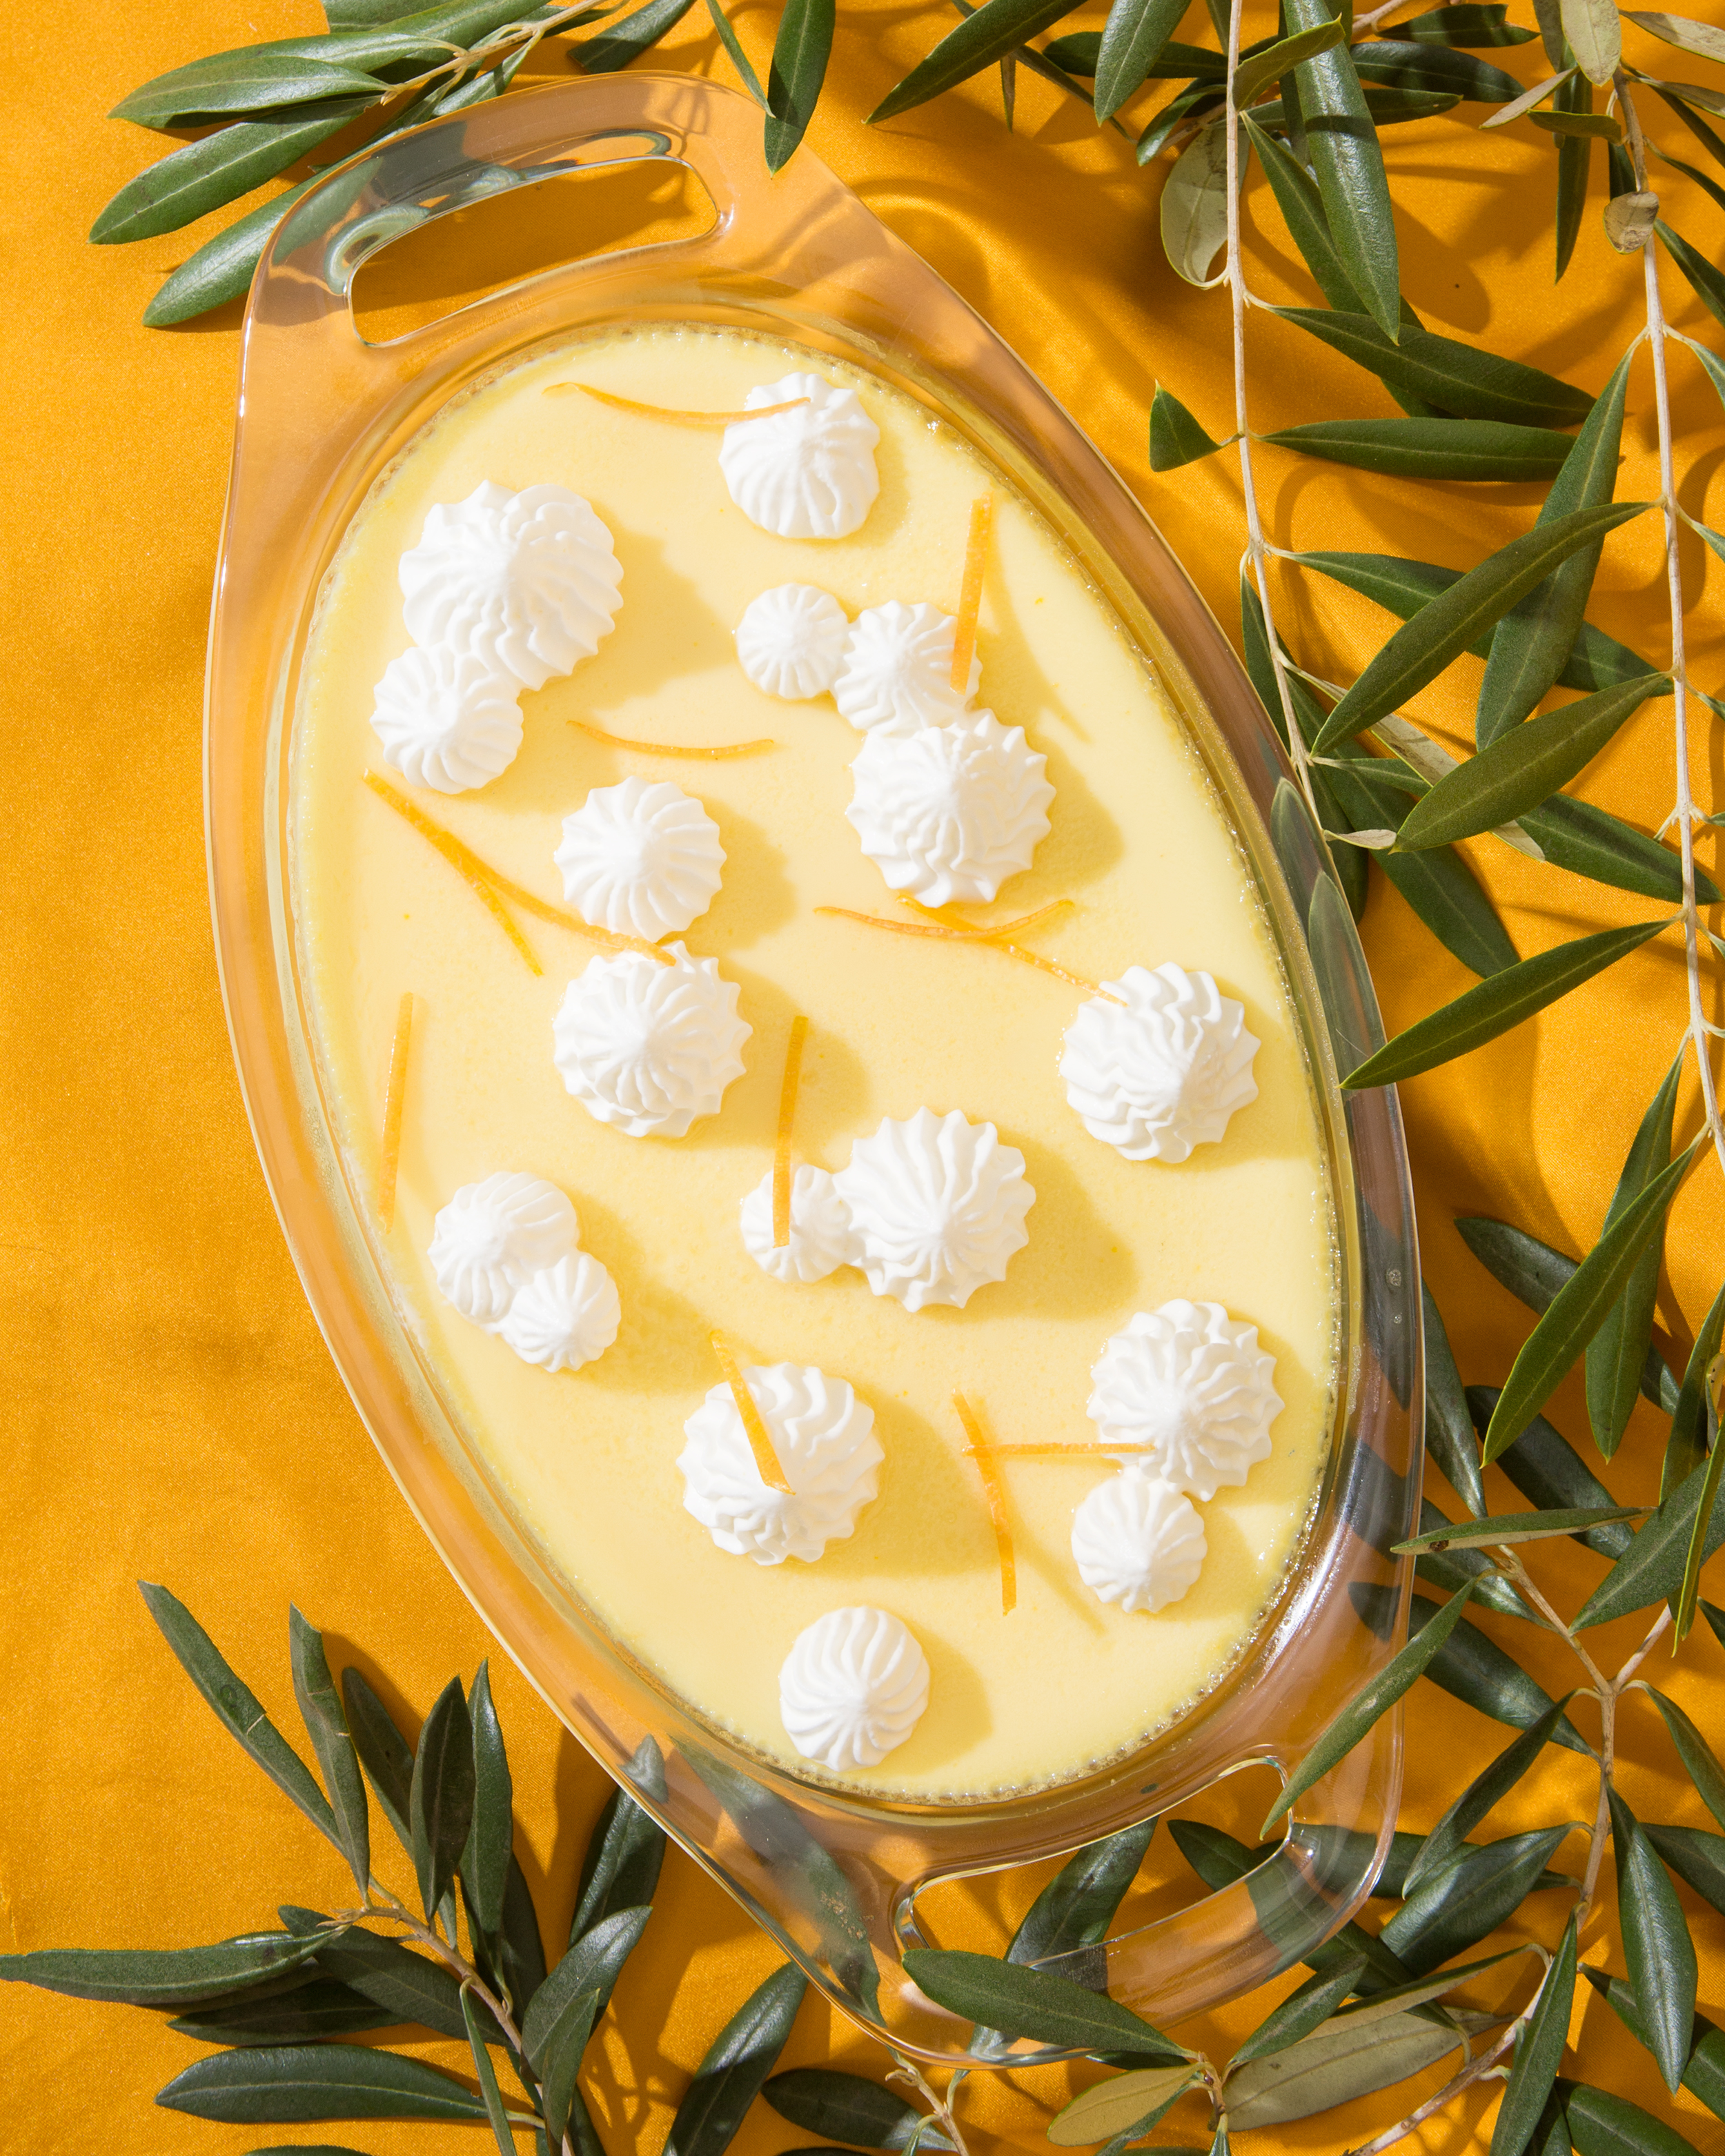
 When hosting a Friendsgiving it’s actually against the rules to not make the turkey so I’m stuck with that (more coming later this week) but then I also offered to make all the desserts because when I say I have a sweet tooth it’s actually just half of my mouth. A whole party of sweets that can be made the day ahead is exactly what every gathering needs, with something that can sort of fit the bill for any sort of craving. We’ve got something citrus, cookie status, and chocolatey/creamy. It’s like I’m getting married, but to Thanksgiving.
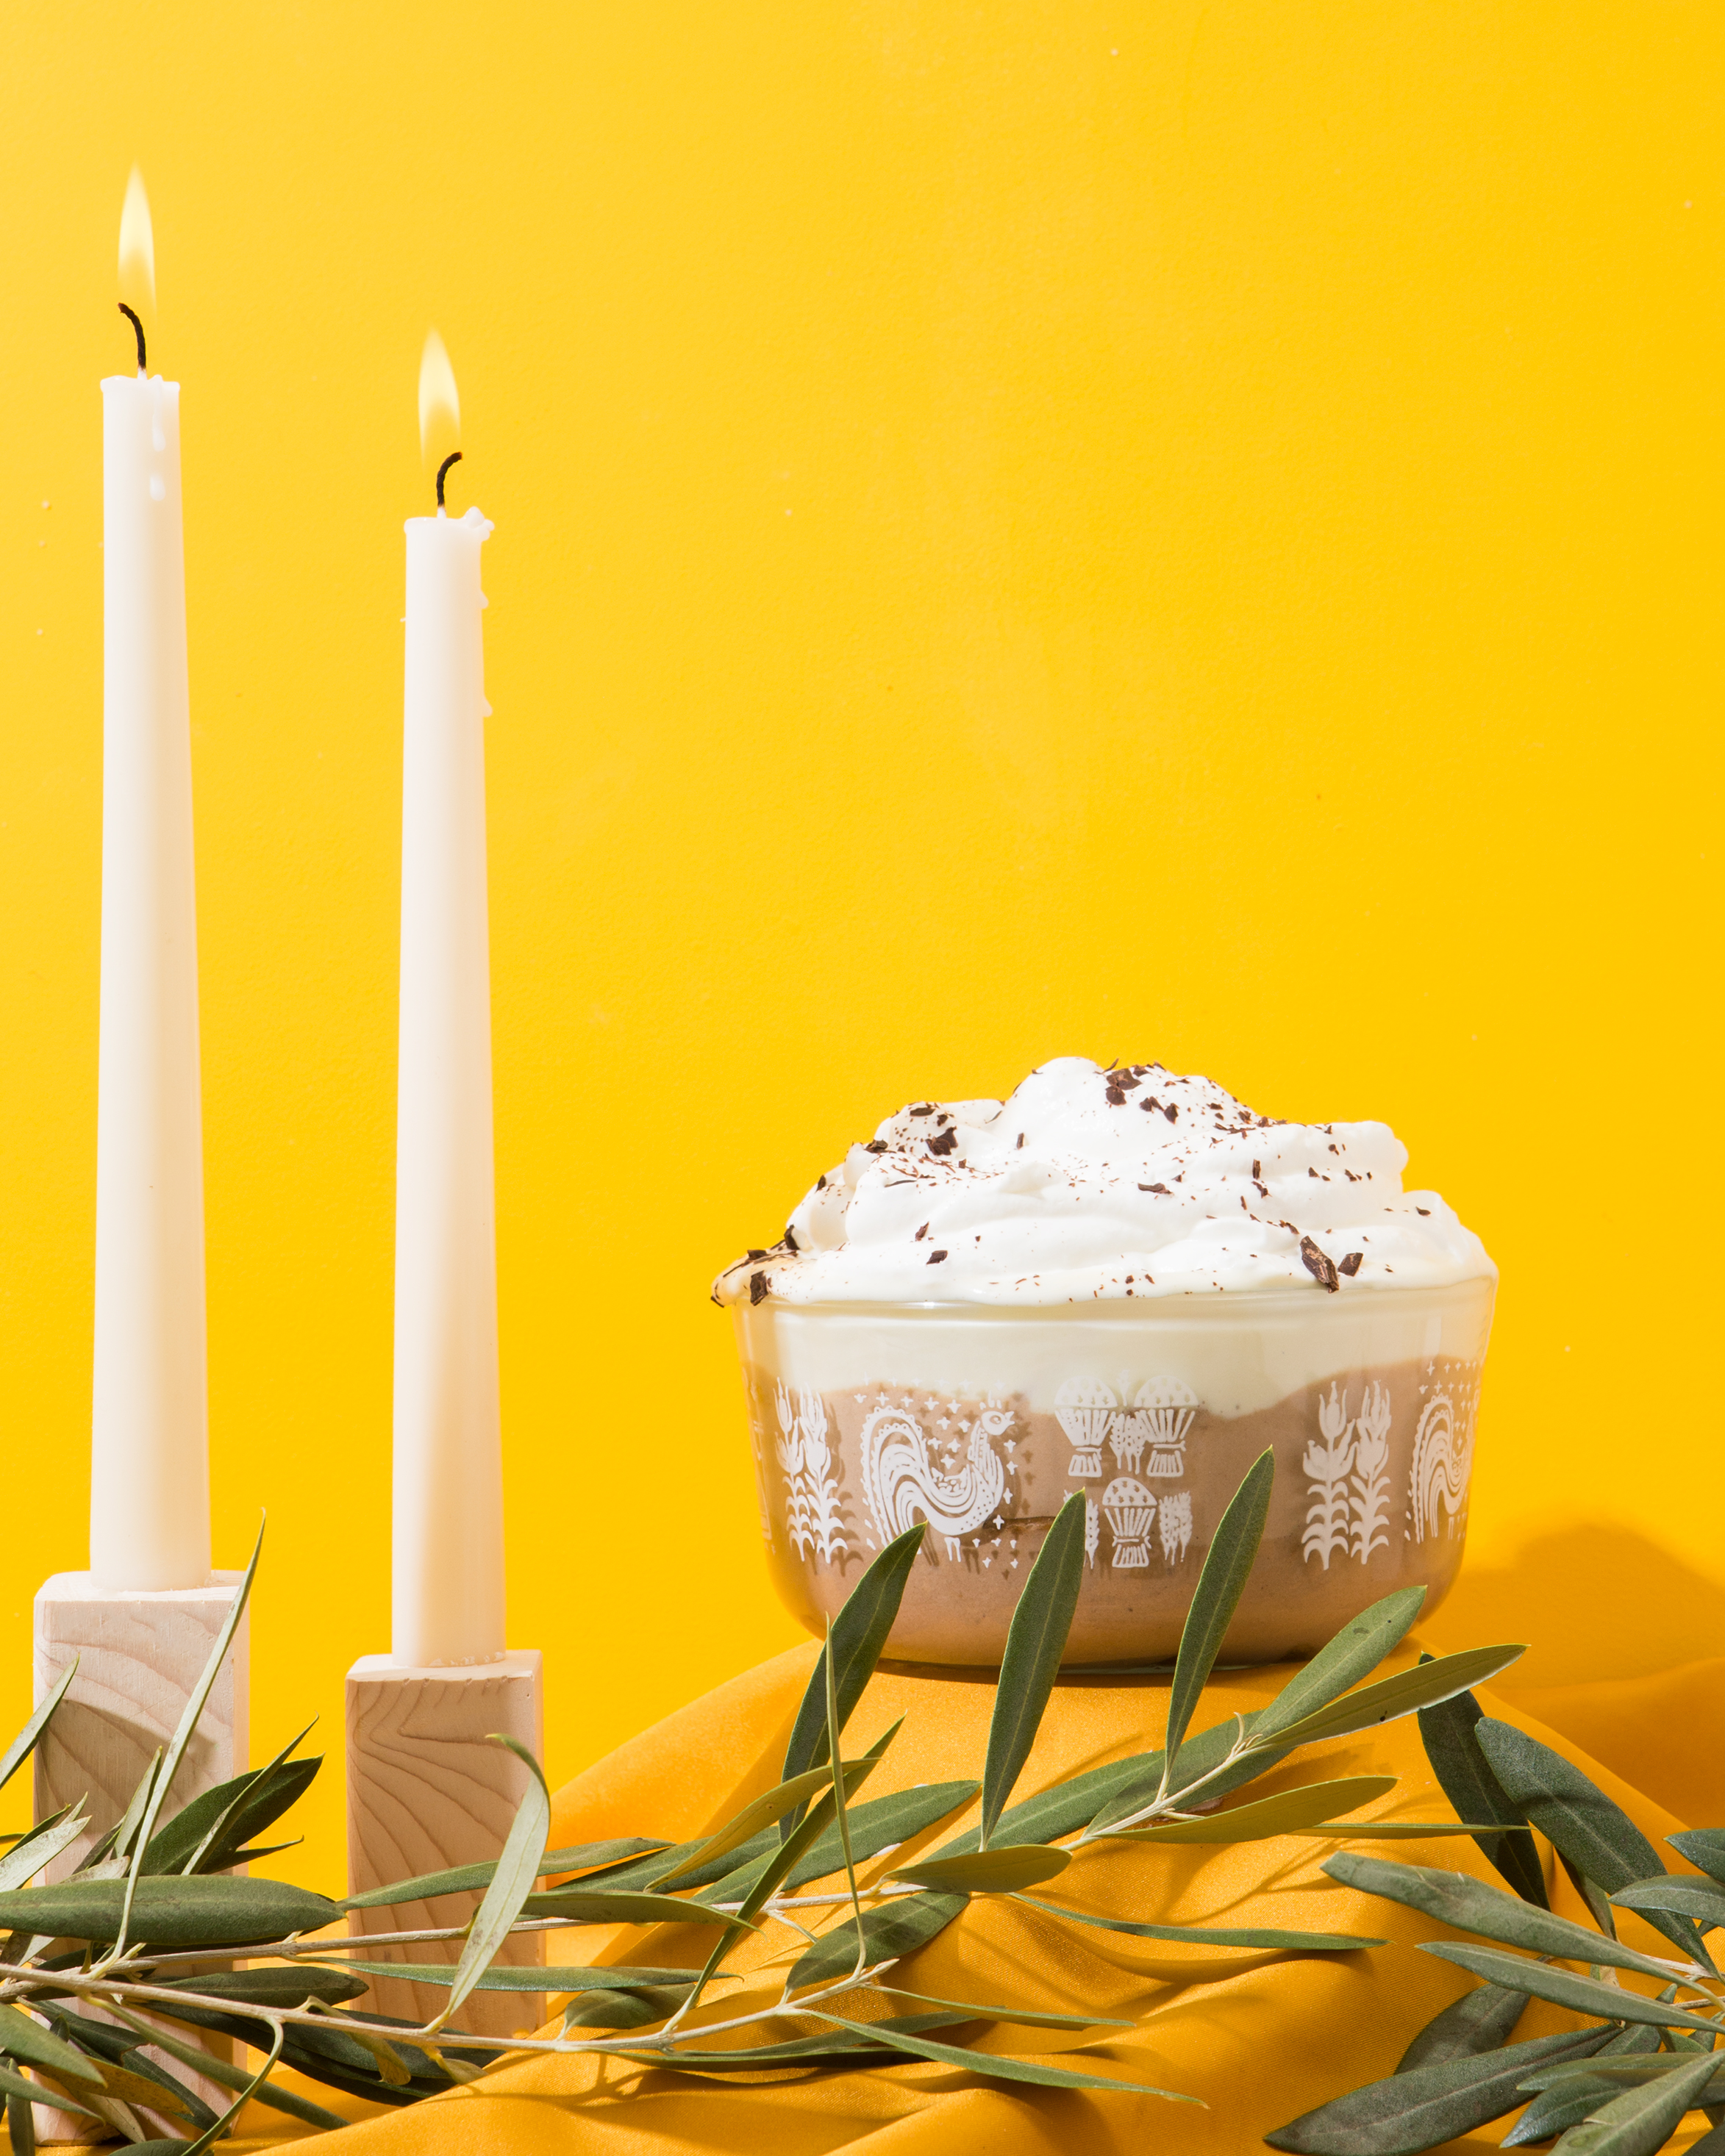
 Pyrex is all about love – the love that goes into making a dish and the love that goes into sharing it. This whole thing is exactly that. Not only is everything perfect for a Friendsgiving, but almost all the Pyrex dishes I used (including the custard dish!) have lids that can just pop on and go with someone when the party’s over because lord knows the last thing I need is a giant bowl of chocolate mousse trifle staring me in the face.
 I jumped at the chance to work with Pyrex because working with companies that I use every single day is the best thing I could ask for, and they went ahead and hooked us up with some goodies! 20% off on their website with the code PYREXLOVE20, aaaand a giveaway! Over $140 worth of product, just head over to instagram to enter.
 Special shout out to Pyrex for sponsoring this post and helping keep this site/me moving/shaking/grooving.
Buttermilk Grapefruit Custard
Serves 4-6
3/4 cup sugar
Serves 6-8
1/2 cup chopped bittersweet chocolate
1 tablespoons unsweetened cocoa powder
2/3 cup chopped white chocolate
1/2 cup white granulated sugar
1/4 cup cornstarch
pinch of salt
4 cups whole milk
4 yolks, in a medium bowl
2 teaspoons vanilla
2 1/2 cups heavy cream, divided
3 tablespoons powdered sugar, divided
Chocolate, vanilla, or cinnamon wafer cookies
chopped or shaved chocolate for garnish
Start by separating the chocolate out, bittersweet and cocoa powder in 1 medium size bowl, white chocolate in another.
In a medium sized saucepan whisk together the sugar, cornstarch, and salt. Add the milk and whisk to combine, then turn the heat to medium low and cook, whisking occasionally, until the mixture thickens and just starts to bubble.
Slowly add about 2/3 cup of the milk to the yolks while whisking then add that back into the saucepan. Stir constantly until the mixture starts to bubble then cook for 2 more minutes and remove from the heat. Stir in the vanilla then strain half of the pudding (about 2 2/3 cup) into the bowl of bittersweet chocolate then the rest into the white chocolate. Let the pudding sit for 5 minutes then whisk the white chocolate to combine until smooth and do the same with the bittersweet (white chocolate first means you don’t have to worry about washing the whisk)
Place plastic wrap directly on the surface of both then transfer the puddings to the fridge to cool completely.
When you’re ready to assemble Whip 2 cups of the heavy cream with 2 tablespoons of the powdered sugar until you get stiff peaks, a little firmer than you would probably normally go because we need it for the body ody ody of the mousse.
Fold half of the whipped cream into one pudding and the rest into the other. Take a third of each of the mousse mixtures and carefully fold this together so you have 3 different mousse mixtures.
I made 2 smaller trifles but you can also just use a large trifle dish to assemble if you want. For a small trifle dish spread out a quarter of the bittersweet chocolate mousse (half of it for 1 larger one) then top with wafers of choice, top with another quarter of the mousse (the remaining half for a large) then top with more wafers. Repeat this with the mixed mousse mixture then finally the white chocolate mixture. Cover the trifles with plastic wrap and have them site in the fridge until you’re ready to serve, at least 4 hours and up to two days ahead of schedule.
When you’re ready to serve whip the remaining 1/2 cup heavy cream with the remaining tablespoon of powdered sugar and top the trifle(s) with it and garnish with shaved or chopped chocolate.
Deep Dish Toffee Nut Chocolate Chip Cookie
Serves 6-8
1 1/4 cups all purpose flour
1/2 teaspoon salt
1/4 teaspoon baking powder
1/4 teaspoon baking soda
1/2 cup unsalted butter, softened
1/2 cup lightly packed light brown sugar
1/4 cup white granulated sugar
1 teaspoon vanilla
1 large egg
1/2 cup chopped bittersweet chocolate or chips
1/2 cup toffee covered peanuts or candied pecans or walnuts
Preheat the oven to 350ºF and grease a 9” pie plate.
In a medium bowl whisk together the flour, salt, baking powder, and baking soda. Using a stand mixer fitted with the paddle attachment (or a handheld mixer) cream together the butter, the sugars, and the vanilla until the mixture is light and fluffy and more pale in color, about 1 minute. Add the egg, mix on medium speed until combined, then add the dry ingredients and mix on medium speed just until the dough comes together. Mix in the chocolate and nuts on slow just until they’re combined.
Scoop the dough out into the prepared pie dish and evenly smooth it out. Now, you can A) bake for 12-15 minutes until the cookie just starts to turn golden brown or B) cover with plastic wrap and store it in the fridge so you can bake it right before you serve because nothing says comfort like a warm chocolate chip cookie.

