Pear, Ginger & Mandarin Muffins

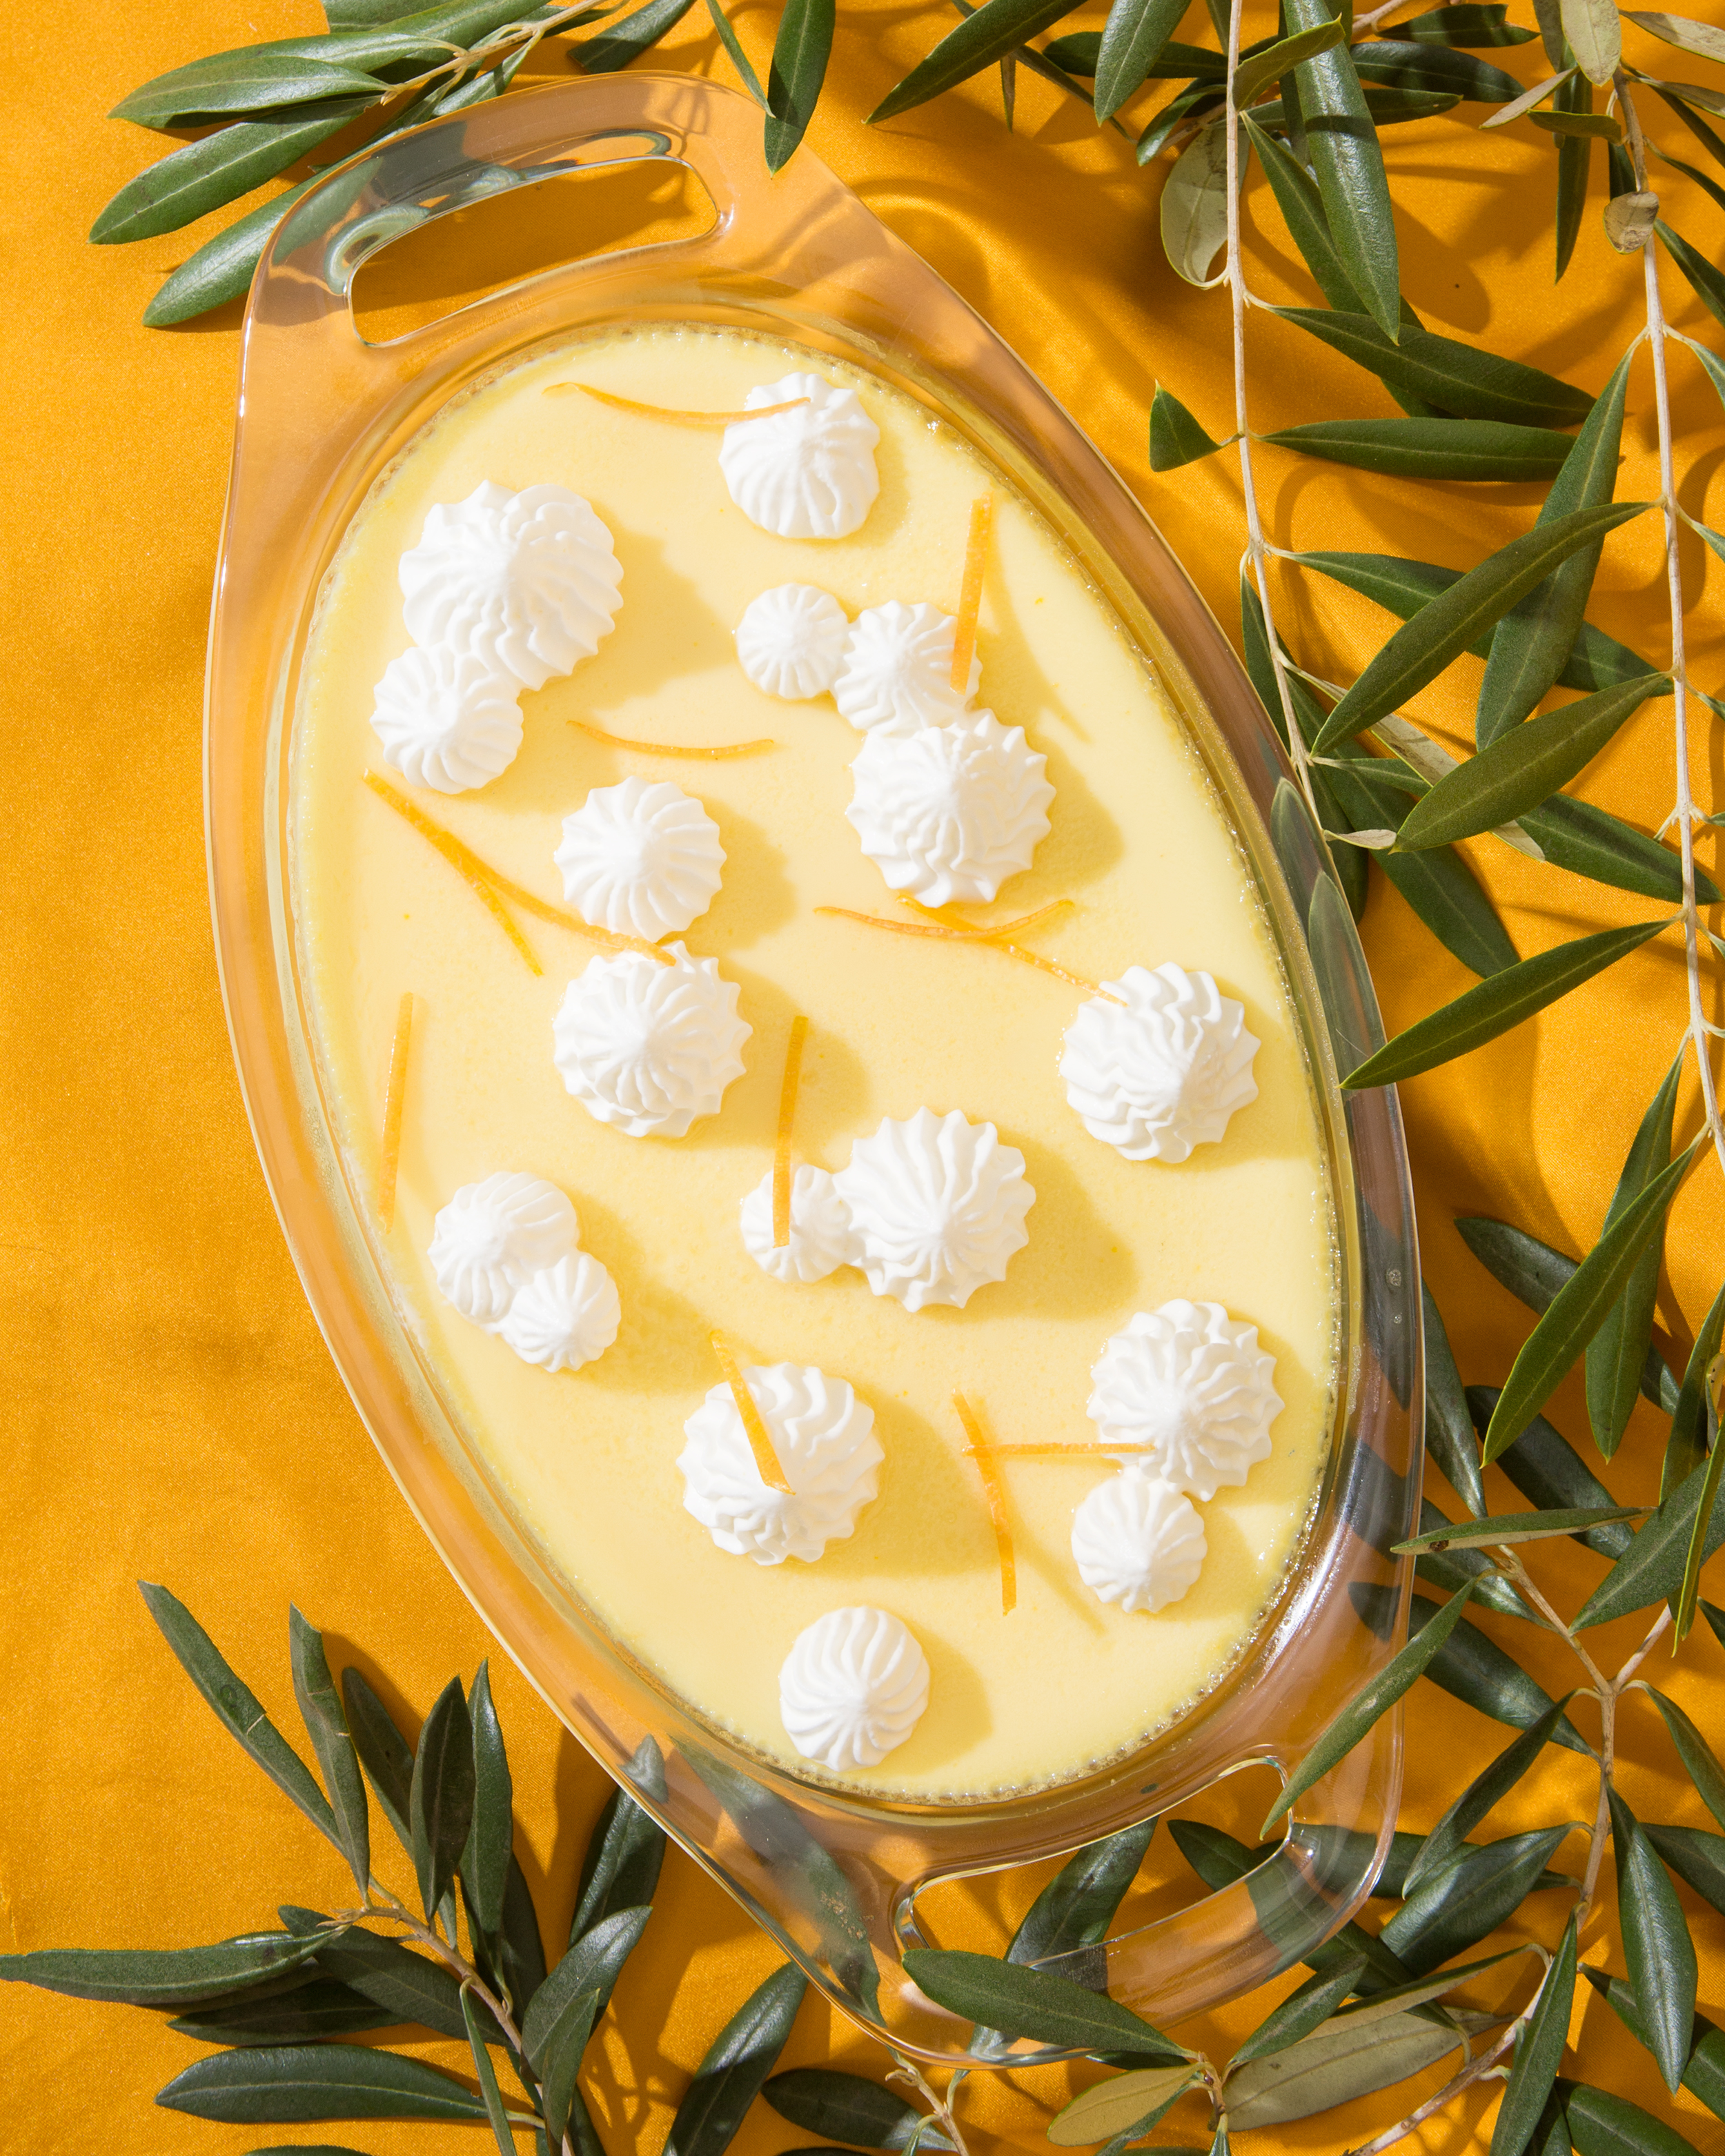
Spring has awoken, spring is upon us. These muffins are part of the welcome basket.
I love that sort of end of winter beginning of spring situation (even though it’s very short lived in socal, we just went from rain to heat blasts), we still have some good winter citrus to pair with what are generally spring flavors and the combos are some of my favorites.


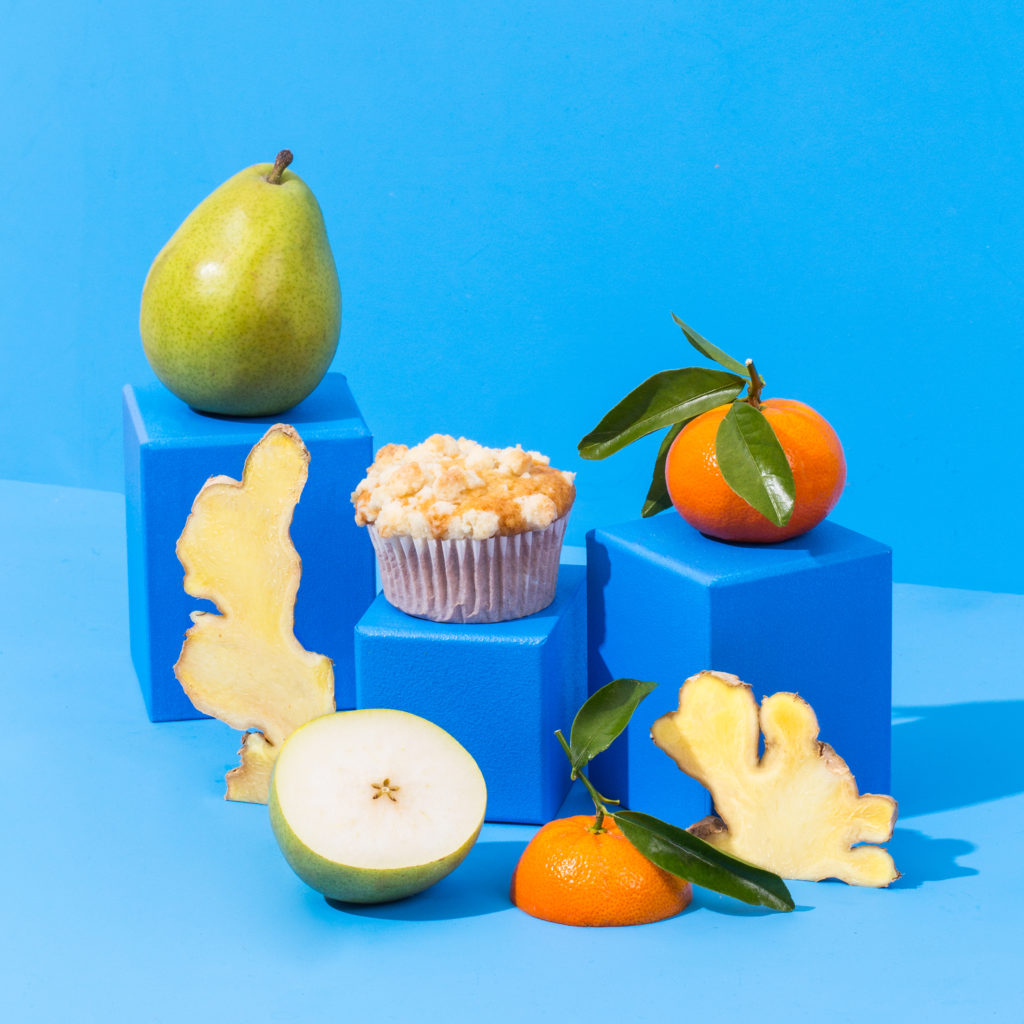
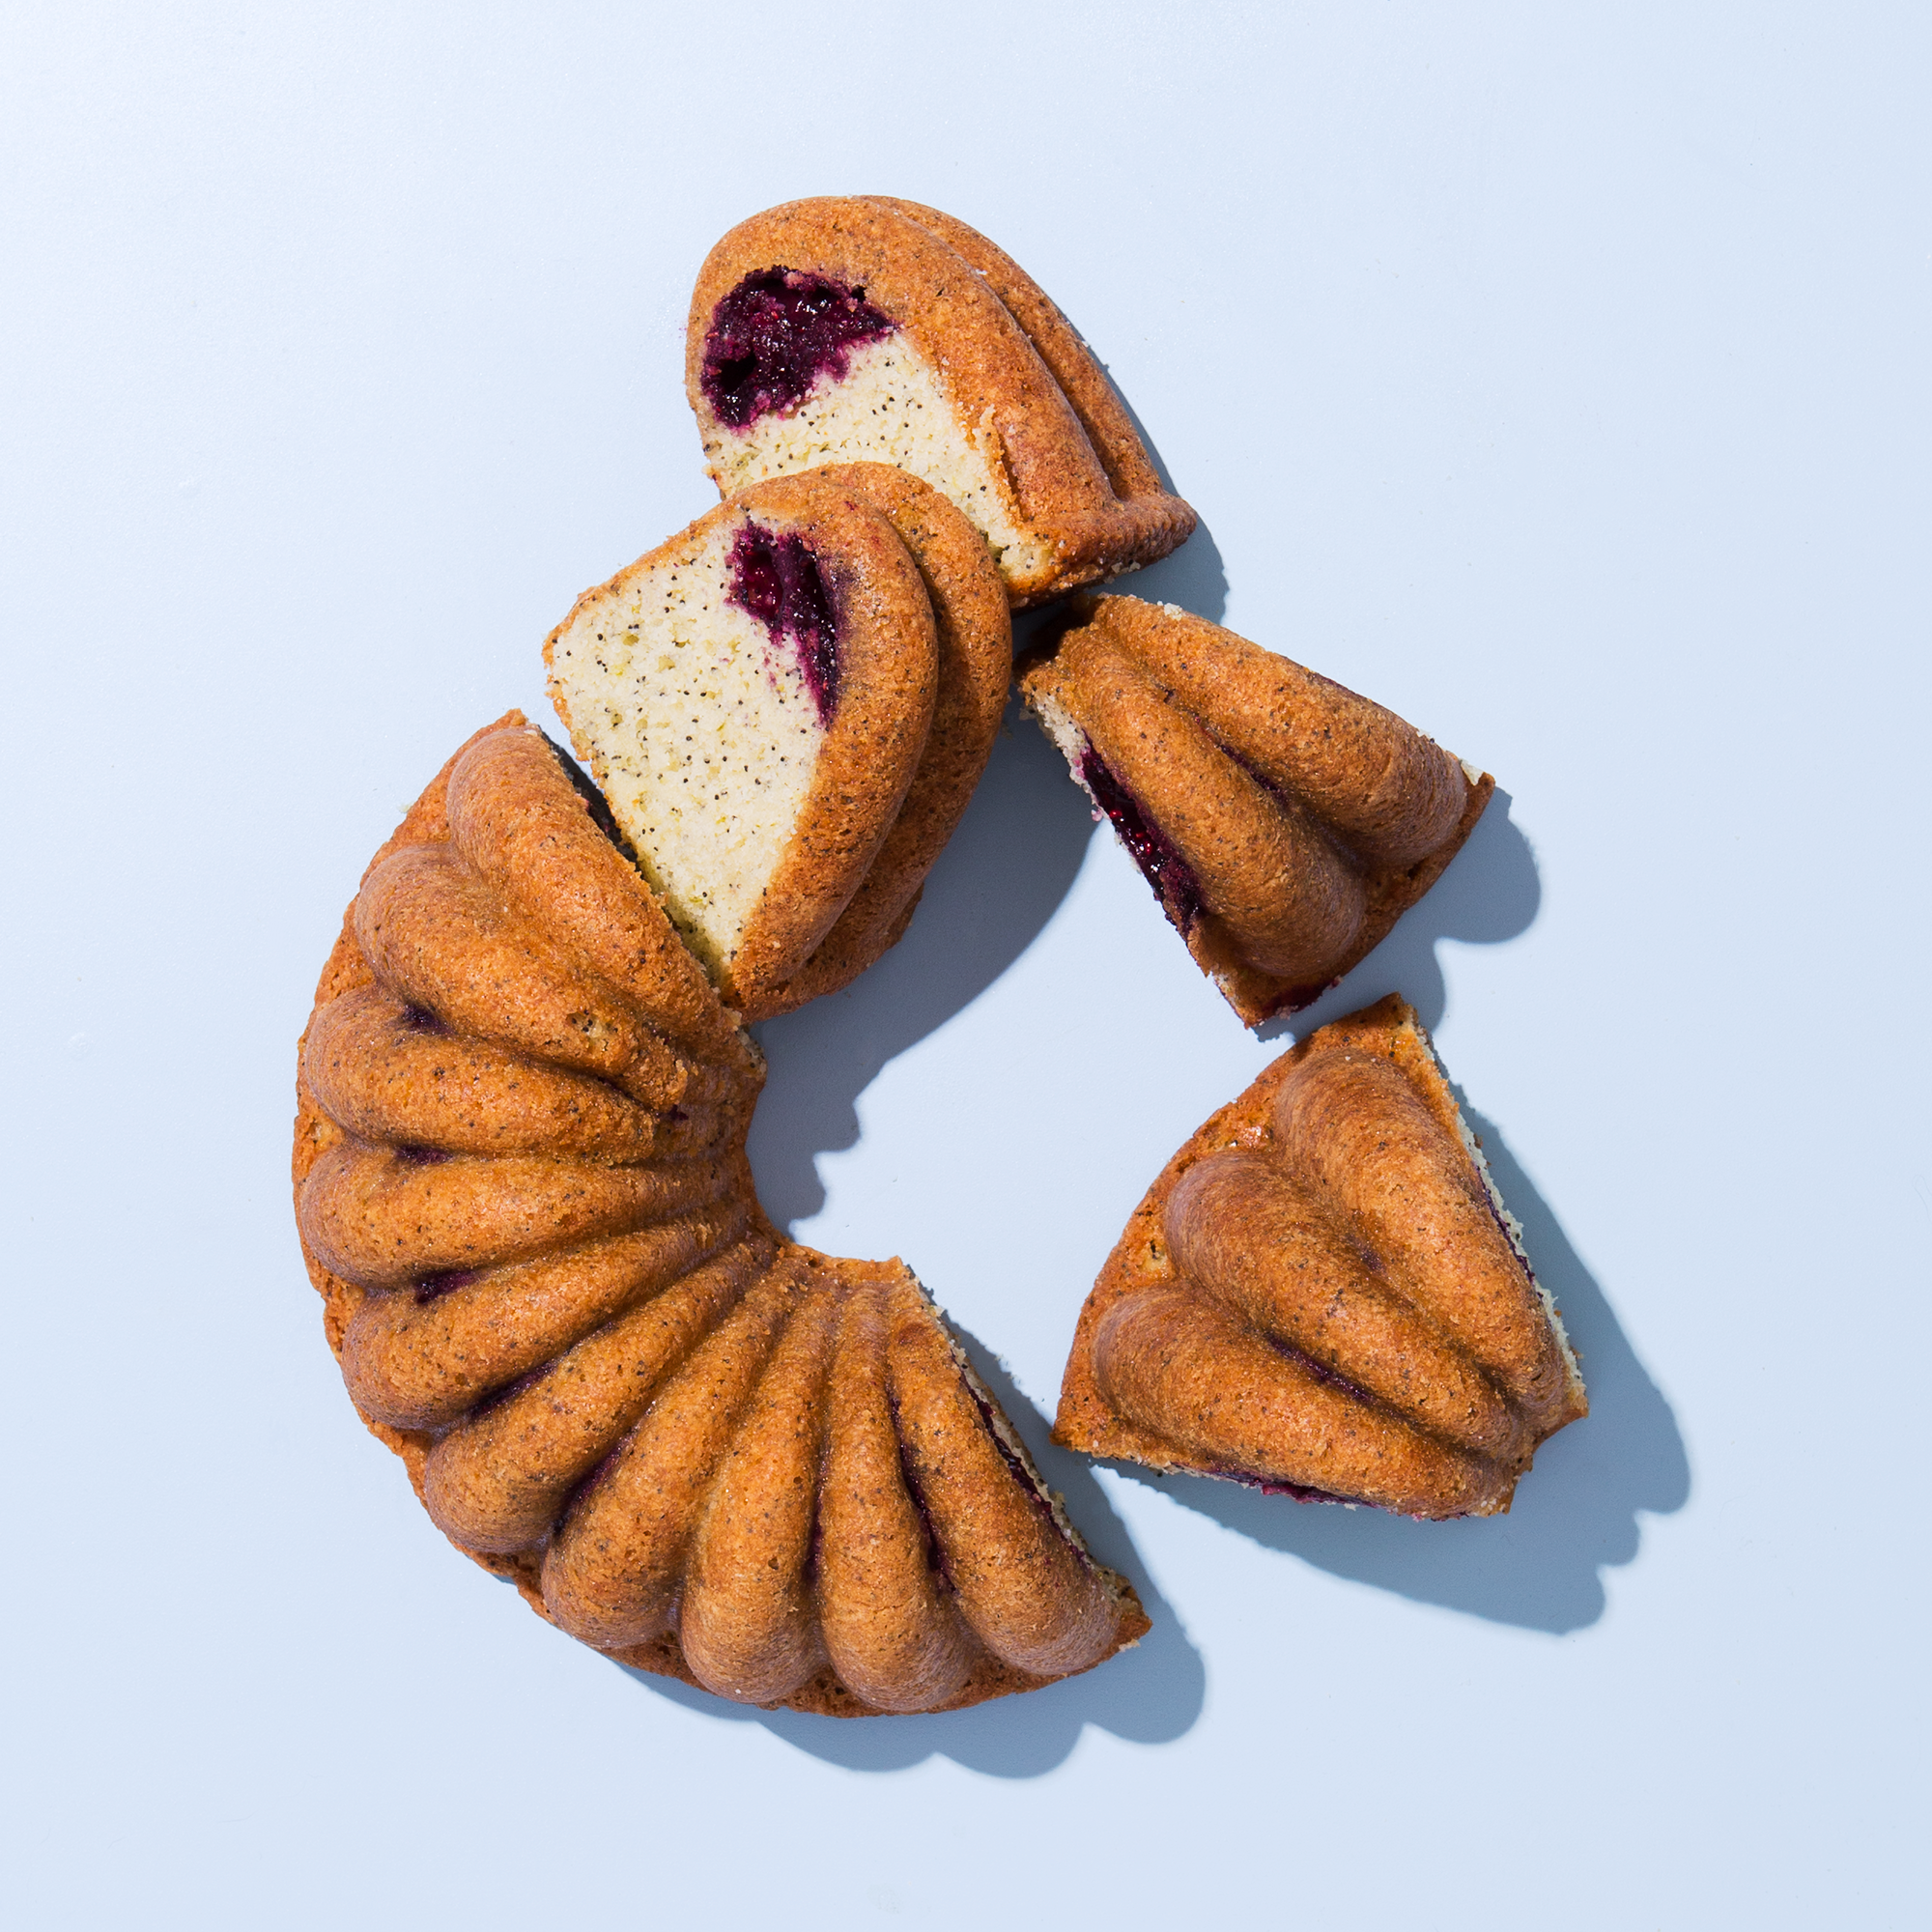
Today I’m pairing (took everything in me to avoid the pun) with USA Pears to bring you these spring forward muffins. Their site is actually one of my favorites for fruit specific details because they go over all the varieties and the best way to use them, this page in particular is awesome because it’s easy to read and recognize the pears, making it that much easier to figure out which pear you might want to use for your next fruit crisp or pie.

The cool thing about pears, even though they’re generally thought of as fall fruits, is they’re actually readily available year round. Since the usual suspect of spice pairing is something warm like cinnamon or nutmeg I shifted the spice/flavors onto fresh ginger and citrus zest to give us a lighter profile that wouldn’t overpower the flavor of the pear too much.

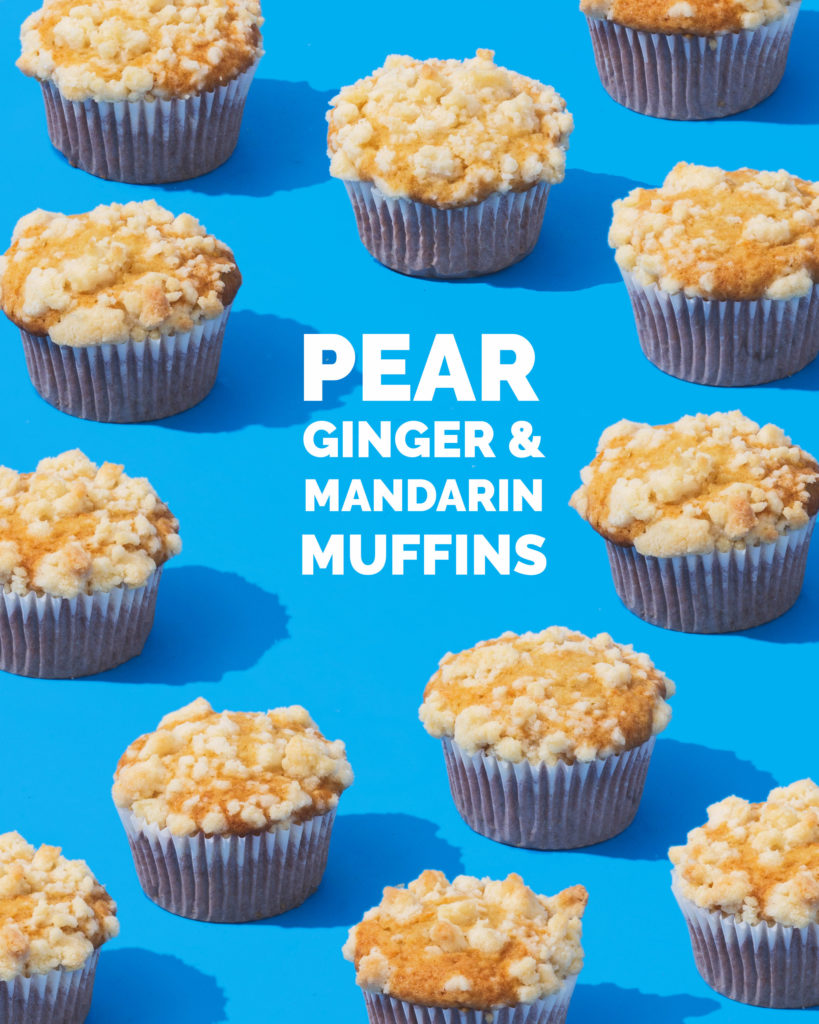
I went through quite a few trials with the muffin, only because my initial idea was to cube up the pear and put in the batter to have some juicy chunks but it turns out they’re a little too juicy, chunks would work better in something like a cake that has ample time to bake up. So I went the alternative puree route and ended up with something that’s barely sweet and fragrant with the clementine and ginger. They’re perfect for a light breakfast or afternoon snack, especially with a cup of (iced year round if you’re me) coffee.

Continue Reading

Summer Shakératos with Nespresso

Special shout out to Nespresso for sponsoring this post and helping keep this site/me moving/shaking/twisting.

If you really, truly know me as a human creature you know that one of my lifelines is iced coffee. Like, 100% will probably have more iced coffee than any other liquid on any given day, telling myself there’s water in there somewhere so I’m hydrating.

This means that my excitement shot to very excited when Nespresso reached out and asked if I wanted to try their new line of iced espresso capsules, roasted specially for using over ice to make sure the drinks not weak or has that bitterness that you can get if you cool down hot coffee too fast.

The idea is that you actually brew the espresso right over the ice, and in this case, shake it up with some syrup like you’re a bartender then serve it up,  a casual 4 times a day 🙂

Part of the whole partnership was also creating something to jush up the iced espresso from yas bam to YAS BAM and I took the route of some fun syrups you can keep in your refrigerator for whenever you want the extra jolt in the jolt.

First up:

Pistachio Coconut Syrup, a perfectly toasty nutty flavor that screams HAZELNUT WHO?!

Makes about ¾ cup

2/3 cup sweetened flaked coconut
1/3 pistachios, finely chopped
3/4 cup water
2/3 cup sugar

In a medium sized saucepan set over medium low heat, toast up the coconut, stirring frequently, until it’s a nice toasted golden brown. Add the pistachios and the water then bring the mixture to a boil. Remove from the heat and stir in the sugar until it’s dissolved then let the syrup hang out and steep for at least a couple hours to really infuse the flavors into the syrup. Once it’s cool and ready strain it through a fine mesh strainer into a jar or vessel of your choice and store in the fridge until ready to use. You might also notice some of the coconut oil left over once the syrup’s chilled. If it’s too much just carefully skim it off the top and discard or spread onto a piece of toast.

Next up miiight be my favorite because it’s so classic and a flavor from my childhood, now highly caffeinated. It’s the cream soda syrup that gets up the Cream Not Soda Shakérato.

For the syrup, it’s a caramelized sugar and vanilla mixture that’s so easy and perfect. To make it, just boil 1 cup of water in a medium sized saucepan then set it aside (this will help with dissolving the sugar after its caramelized). Add 1 cup of sugar to the saucepan and over medium heat, cook the syrup until it melts and start to caramelize. Don’t stir too much, just a gentle swirl of the pan should be fine. Once it turns a nice amber color slowly add the boiled water, being careful because it might splatter just a little. Cook over medium heat, stirring frequently, until the sugar dissolves then remove from the heat and add 1 teaspoon vanilla bean paste and stir. Let it cool then pour into a jar or vessel of your choice and store in the fridge until ready to use.


Those are just the syrups, but if you want the full rundown of the drinks keep your eyes peeled on the instagrams!

Coconut Chocolate Crinkle Cookies

Hi Yes Hello, It is I, the elusive not chanteuse of food blogging.

I’m back from a few months off to help spread the good word about a new book from the blogging world, actual blog royalty by time of blogging, The Pretty Dish from the the pretty Jessica Merchant of How Sweet Eats. I keep wanting to call it the pretty mess a la Erika Jayne that also had a book released this week but I just like to think that the book gods had their hands in this to help the sales of both.

She had too many good things in there to choose from to make and share (she’s a master with easy weeknight dinners) but I’ve got a sweet tooth that’s more of just the entire bottom half of my jaw so naturally I was drawn to cookies. The original recipe for these is actually a chocolate sprinkle crinkle cookie (Joy made them and they look perfect) but I didn’t have any cute sprinkles that worked with coating a whole cookie buuut I did have a bag of these coconut chips that I love adding to smoothies and coating cakes because I think they’re just insanely beautiful.

It turns out they work perfect. They’ get a little toasted in there and they’re not sweet, just coconutty with a brittle bite so these are basically just fudgy cookies coated in crispy crunchy coconut chips and they are pure magic. They come together so easily and are fun to roll up and in the coconut, and I think if I were to change anything it would be an experiment to toss a handful of toffee chips into the batter but even without I would make and eat these a thousand times over.

If you’re into simple weeknight dinners, body scruuuubs, and fun desserts (mojito cupcakes!) go grab Jessica’s book and give it a good read, you won’t regret it.

Continue Reading

How To Spatchcock Your Turkey

How To Spatchcock Your Turkey // Wit & Vinegar
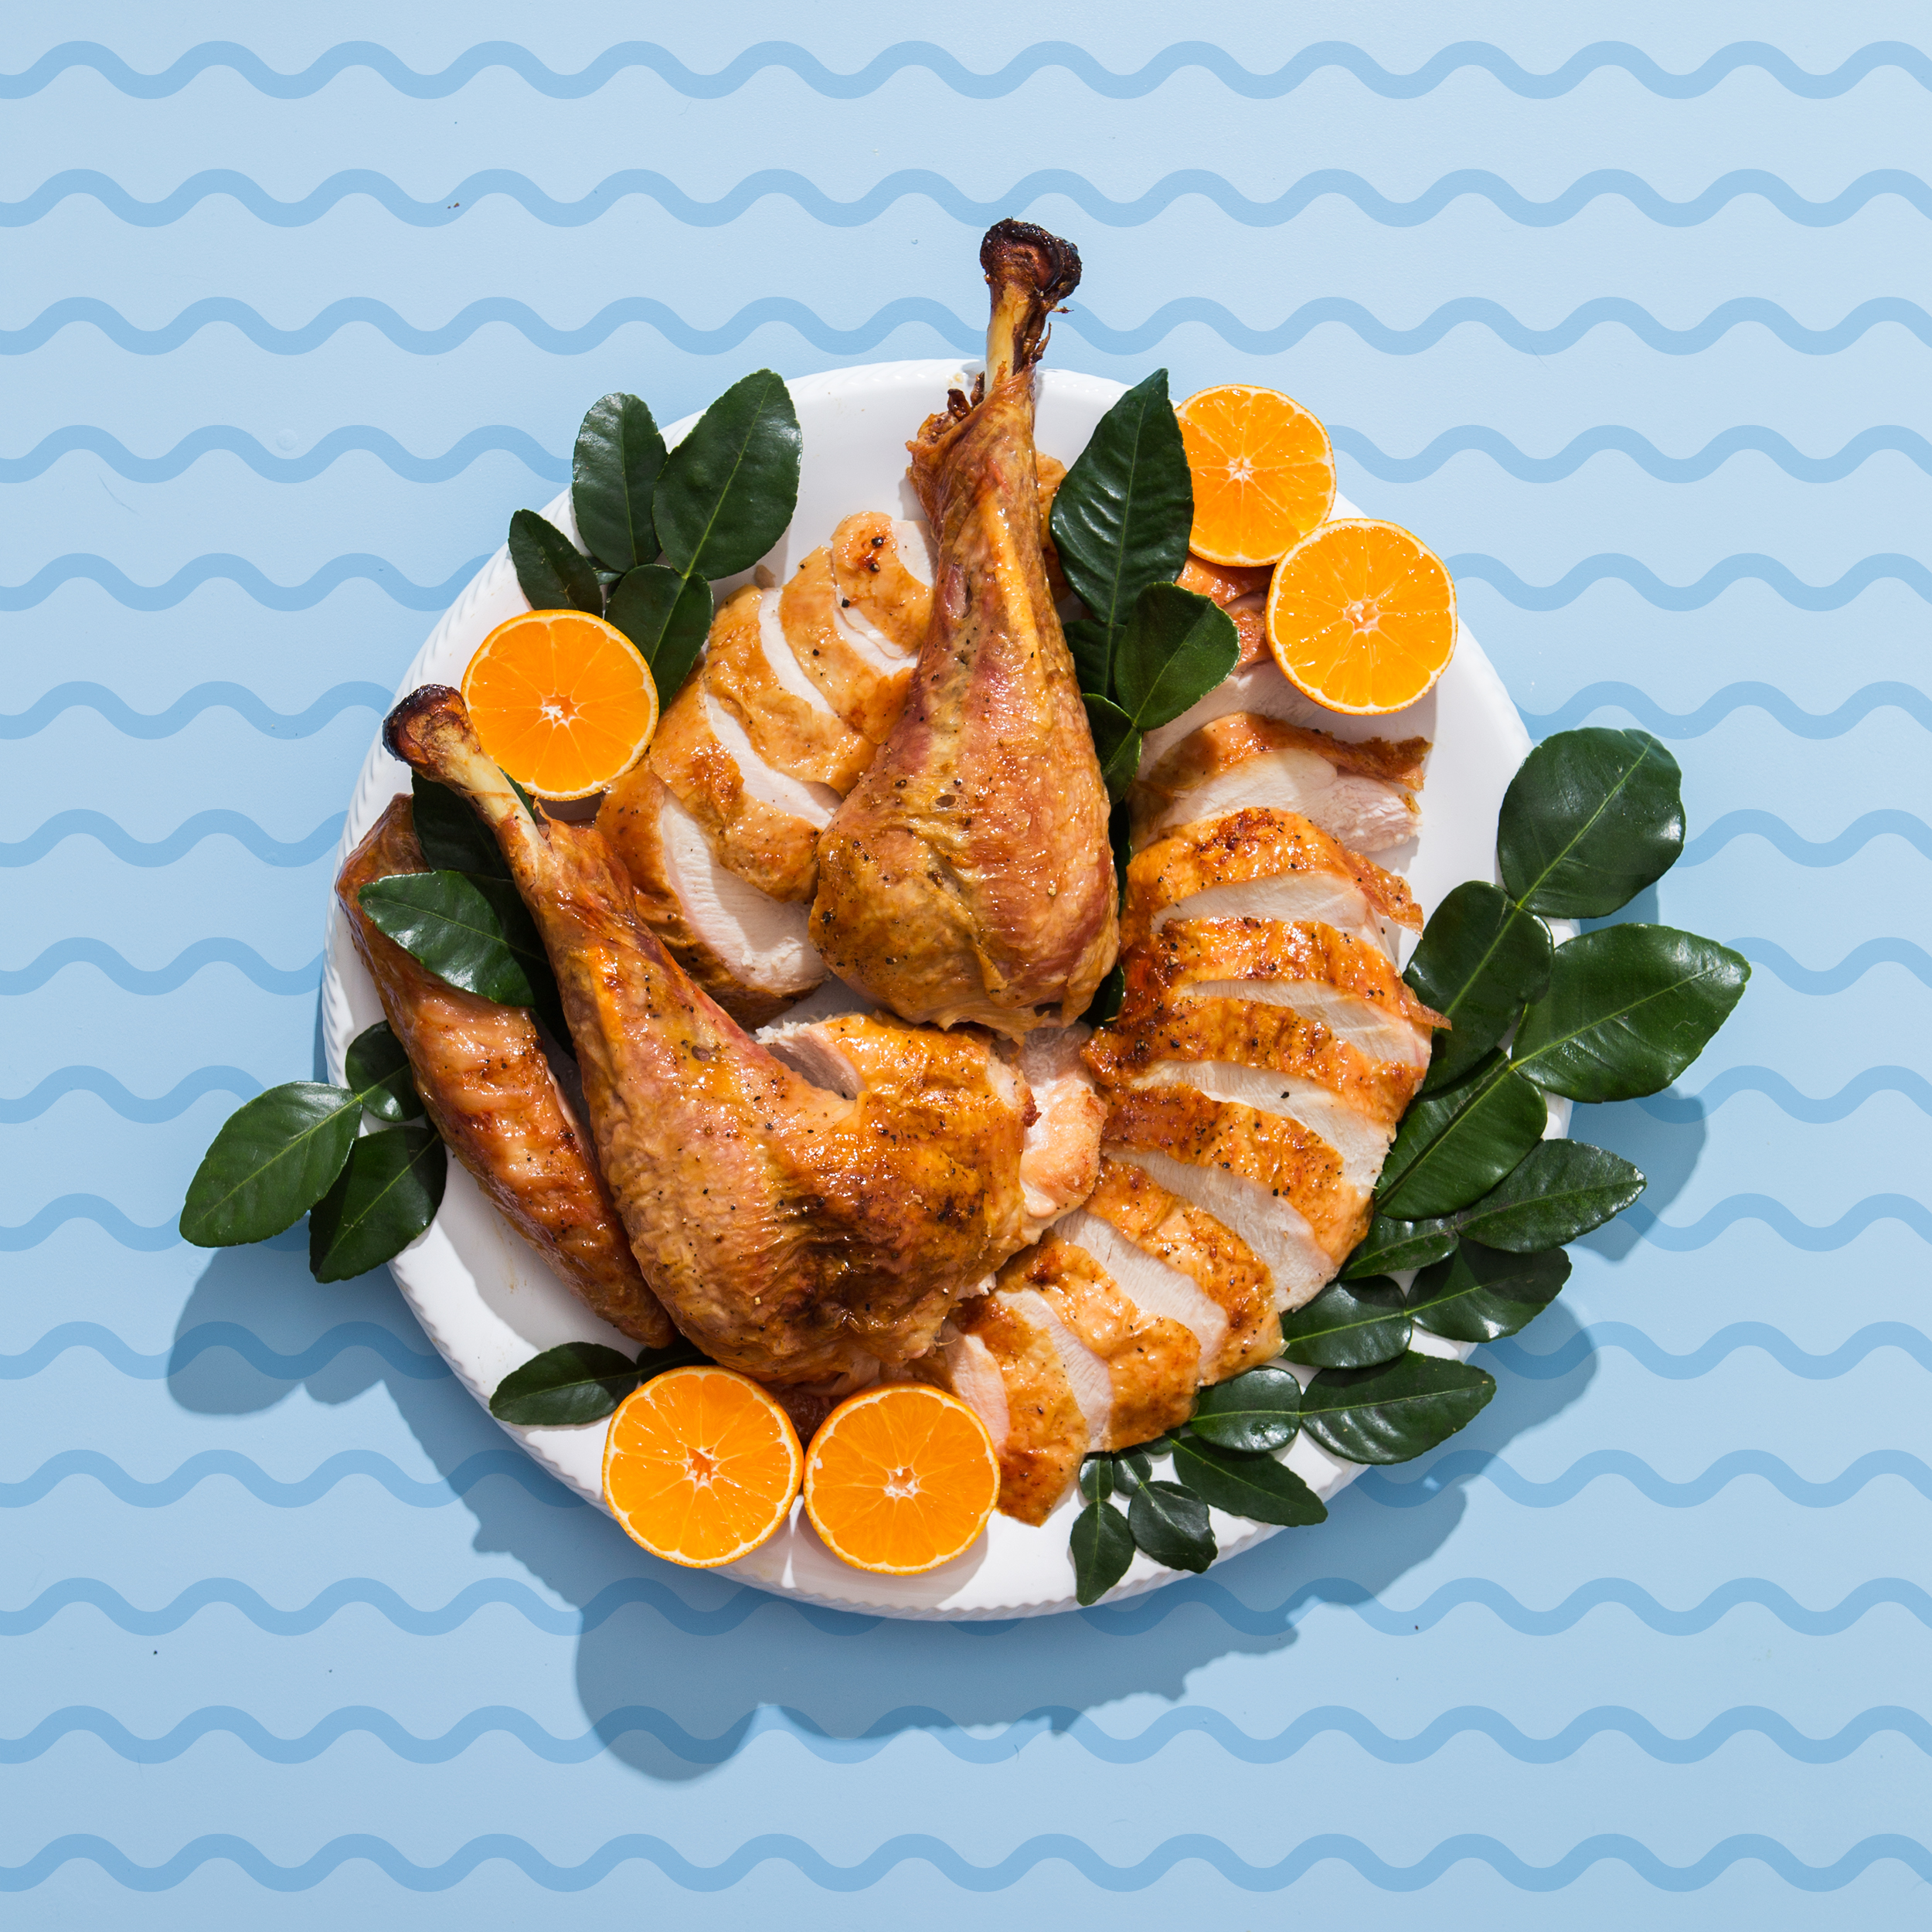
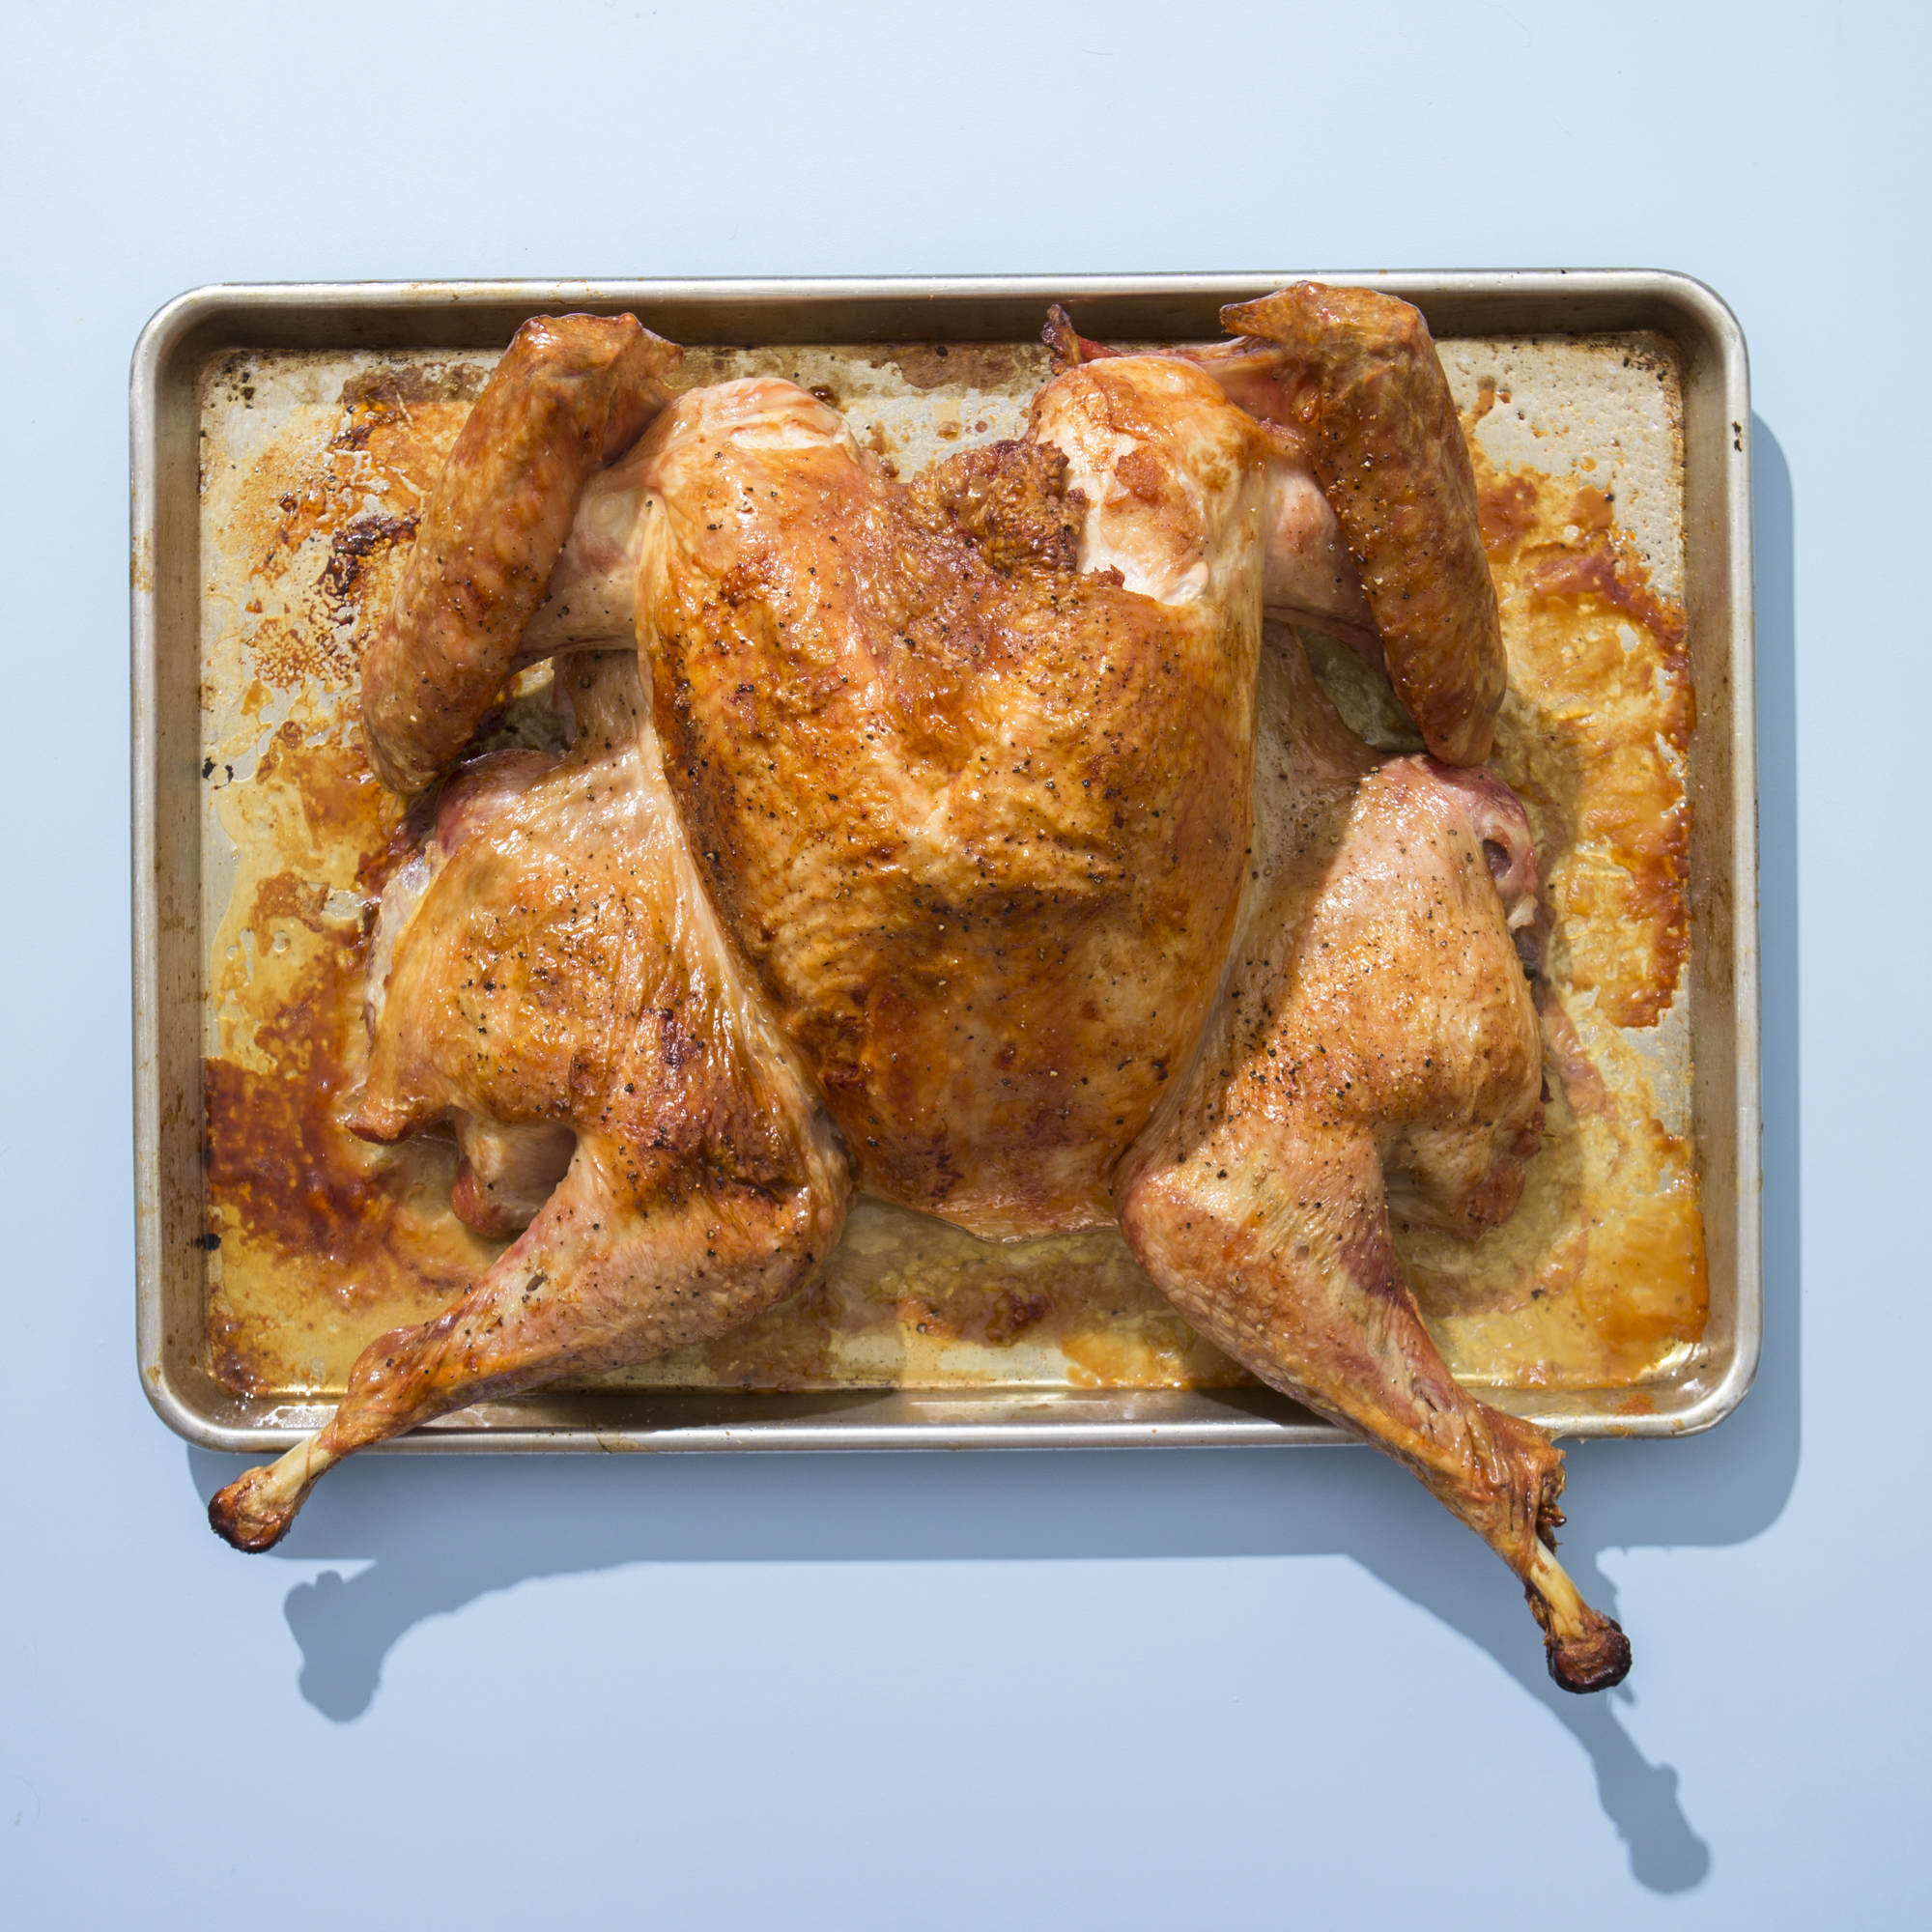
Let’s talk about spatchcocking, the word that seems like it should be an entry on urban dictionary but is actually the removing of the backbone on your bird so it can lay out flat and cook evenly. I’ve been doing for years now for my thanksgiving turkey and every chicken that’s not a rotisserie from Costco 🙃
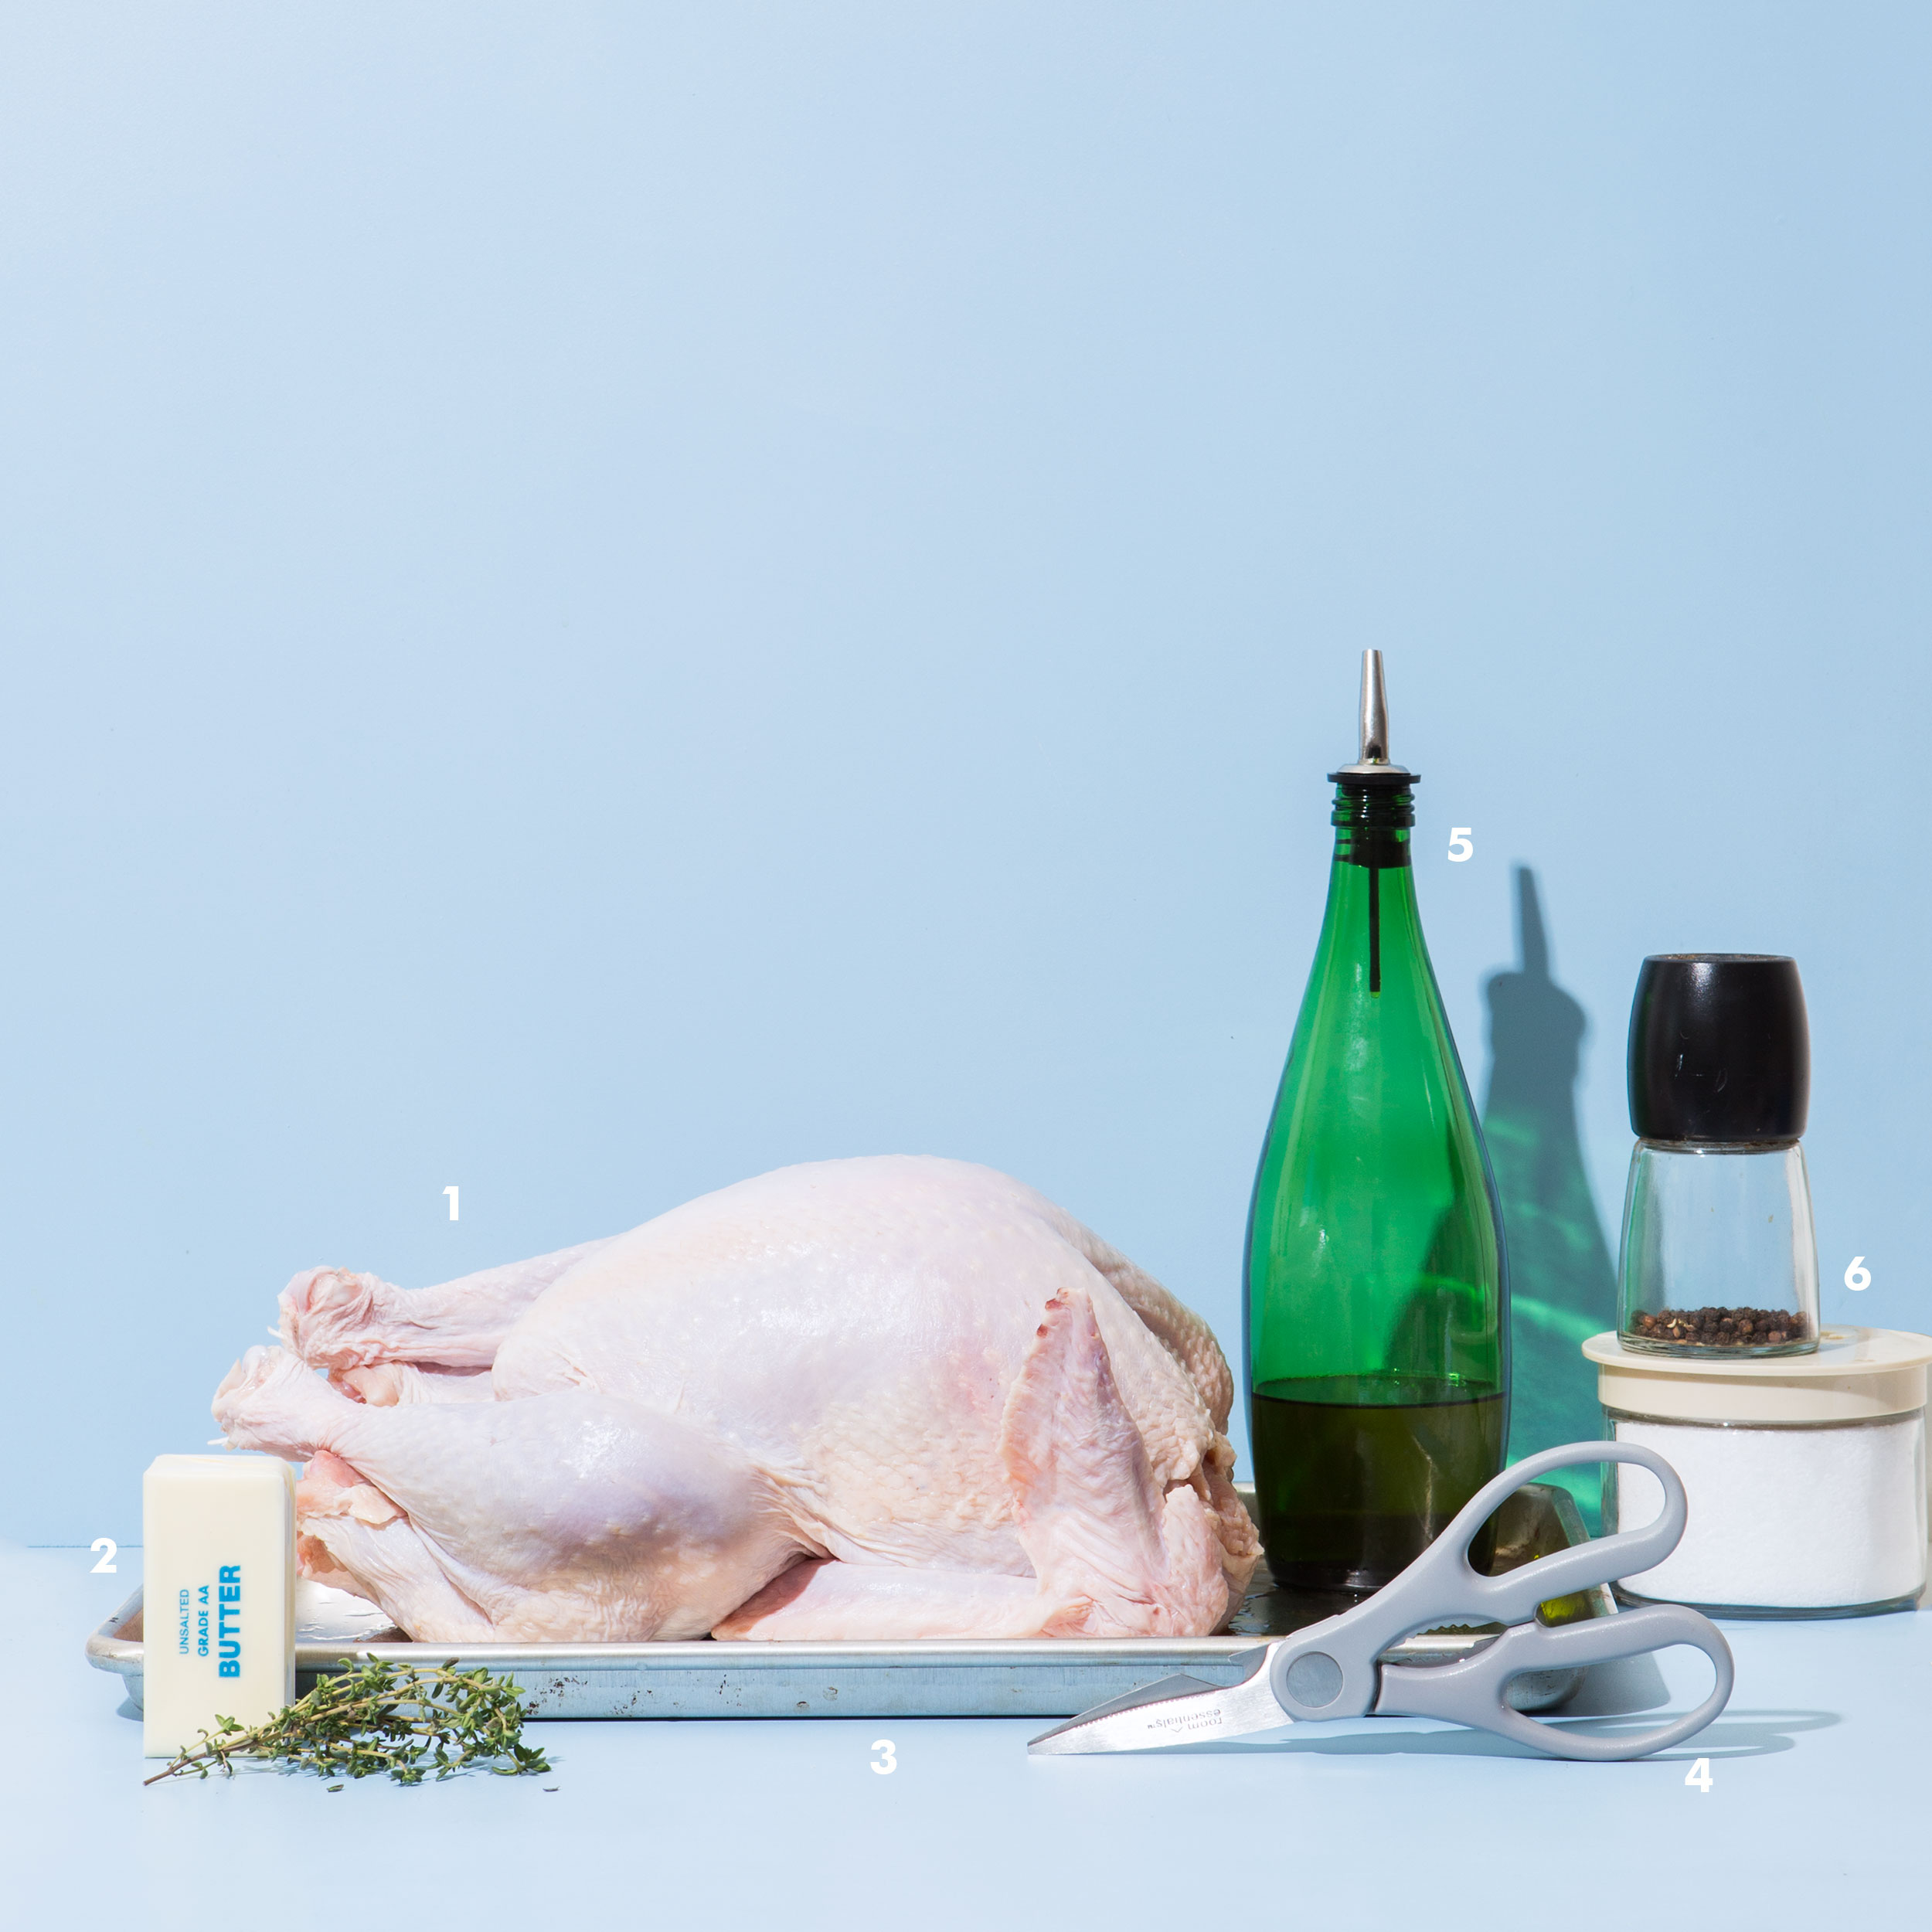
I know you’re probably thinking why? Why do I need to go out of my way to Terry Dubrow a turkey before it goes into the oven? It seems a little daunting the first couple times because you’re literally cutting through bones like this is a saw movie but once you get it, you get it. Obviously there’s some good to this method, I’m a lazy bitch where minimum effort always tries to meet maximum results:

First up, the time. We’re talking an hour for a 14 pound bird, none of this 3 1/2 hours mess when you’ve got pies and stuffing to get going.

When you roast the bird for less time it means less of a chance for it to dry out. It’s roasted for less time because spatchcocking it flattens it out, letting all the meat cook evenly. When you just throw a whole bird in the white meat ends up cooking first, then continues to cook while we sit around and wait for the dark meat to finish cooking, resulting in white meat that has a close relationship to chalk. This also means no brining nonsense.

The final yahoo about the process is that you need somewhere for that backbone to go when it’s removed and the answer is bonus turkey stock. Usually you have to buy extra wings or legs beforehand to make a stock so you can have the gravy with the meal but now with all this happening you can make a quick simple stock, while the turkey roasts, and have really great rick gravy for thanksgiving dinner.

Now that we’ve gone over the why we can go over the how. First up is the cast of characters:

  1. The turkey itself. This one’s 14 lbs, that’s usually the one I go for in the store because I think it’s perfect for spatchcocking, but you can go up to 20 lbs if you’re my mom and you need that much turkey for dinner, you’ll just adjust the time and need a larger baking sheet.
  2. The flavor. Butter (or another fat) and aromatics help a lot with adding flavor to the breast meat under the skin because it really does need the help, or else you’ll just end up with a nice moist turkey breast that tastes like something that resembles a sponge. I used butter, garlic, and salt for this guy but I tried Adrianna’s mojo turkey and it miiiight just be my favorite flavor combo for turkey day.
  3. Baking sheets. I’ve got every size under the sun because I do so much recipe development but I stock up at restaurant supply stores (shout out to chef’s toys in southern california) because they’re so affordable. I used a half sheet pan for this turkey, but anything bigger and the baking sheet should go up to a full size. Just to be safe, I’d buy a few, you’ll end up using them somewhere else in the dinner process.
  4. Kitchen Shears. Like I mentioned up above we’re cutting through bones, so you need something that can cut through bones. The good news is that they don’t need to be super high end, these were 2.99 from Target. We don’t have expensive scissors because there’s a weird void in the Wit & Vinegar/Chicano Eats household that just finds them and sucks them up and away forever.
  5. Crispy Golden Skin Assistance. I used olive oil for this turkey but you could totally use canola or vegetable. The goal is to add some extra fat to make the skin golden brown and crispy and it helps with holding onto the seasonings.
  6. Salt and Pepper, lots of it. Any extra special flavor is going down under the skin, but we do need the skin itself to taste good, and this also leeches down into the drippings, which is important for the gravy/life.

Continue Reading

How To Dessert Table

This is a sponsored post in partnership with Pyrex. All opinions are my own.

T-minus 10 days to the big day that is Thanksgiving, my super bowl, my yearly pièce de résistance.

I love it all mainly because of the food, always the food, but I also love to just sit around and get that two-fer one of hanging out with friends and family and getting to enjoy foods that have a level of comfort that not much else can reach.

This year I teamed up with Pyrex to test run my first year hosting skills for a Friendsgiving, taking the helm of what might be the most important part: the dessert table. For me, the Friendsgiving idea is so perfect because it usually means everyone brings something so it’s less work for me, something I always welcome.

Double Chocolate Mousse Trifle // Wit & VinegarWhen hosting a Friendsgiving it’s actually against the rules to not make the turkey so I’m stuck with that (more coming later this week) but then I also offered to make all the desserts because when I say I have a sweet tooth it’s actually just half of my mouth. A whole party of sweets that can be made the day ahead is exactly what every gathering needs, with something that can sort of fit the bill for any sort of craving. We’ve got something citrus, cookie status, and chocolatey/creamy. It’s like I’m getting married, but to Thanksgiving.

Grapefruit Buttermilk Custard // Wit & VinegarPyrex is all about love – the love that goes into making a dish and the love that goes into sharing it. This whole thing is exactly that.  Not only is everything perfect for a Friendsgiving, but almost all the Pyrex dishes I used (including the custard dish!) have lids that can just pop on and go with someone when the party’s over because lord knows the last thing I need is a giant bowl of chocolate mousse trifle staring me in the face.

Deep Dish Toffee Nut Chocolate Chip Cookie // Wit & VinegarI jumped at the chance to work with Pyrex because working with companies that I use every single day is the best thing I could ask for, and they went ahead and hooked us up with some goodies! 20% off on their website with the code PYREXLOVE20, aaaand a giveaway! Over $140 worth of product, just head over to instagram to enter.

Special shout out to Pyrex for sponsoring this post and helping keep this site/me moving/shaking/grooving.

Continue Reading

Berry Smash Lime Poppyseed Cake

Berry Smash Lime Poppyseed Cake // Wit & VinegarHappy first day of fall here is the total opposite of a fall recipe for those of use that don’t have the weather to match the pumpkin we’re all chomping at the bit to inhale.

The weather in SoCal has been super wishy washy lately, I could’ve just worn a tee and no pants yesterday but then a hoodie was needed this morning when I took the dogs out, and then of course the mood swing continues with a high of 90 next week.

But all that is great because we have this cake that’s fun and delicious and has all of my favorite spring/summer things so we can be cool and not uncool and have this when it’s 90 and crack open the can of pumpkin when I’m forced to wear pants.

Berry Smash Lime Poppyseed Cake // Wit & VinegarThis gem comes from Naomi over at Baker’s Royale, queen of baking, queen of blog pastries, queen of oven treats. We can now add cookbook to that whole list. I’ve been a huge fan of Naomi’s since forever, so it was great when we went from internet friends to real life friends/styling buddies when I went to go and work with her on prepping and styling for her book.

It ended up being the perfect combo of us and the photographer with her assistants that seriously made it one of the best shoots to work on, hands down, greased gears x 100. It helped that we all had a mild obsession with coffee and the baked goods we were pumping out.

Berry Smash Lime Poppyseed Cake // Wit & VinegarThe book itself is really great and fun with all the twists on classic desserts with new ones added in, everything looks delicious and I can guarantee it all tastes good too. This cake was one of my favorites on the shoot because the combo of the tart jam filling and lime poppyseed cake was so spot on perfect and I loved how it’s a nice surprise when you cut into it, almost like a jelly donut that won’t ruin your favorite blouse.

Continue Reading