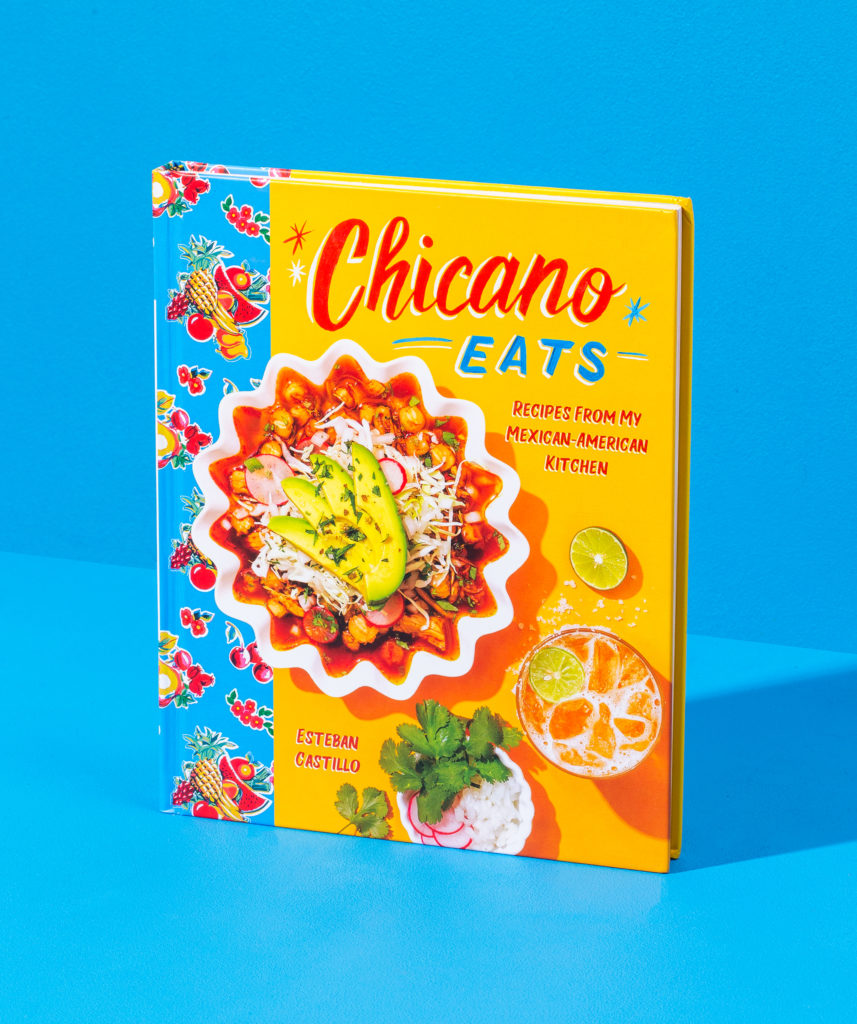
It’s heeeeeere! My other half, Esteban, has finally released his book child Chicano Eats into the world. It’s been a long couple years of him shooting and testing and stressing and I couldn’t be more proud with what he put together.
The book has everything: it’s beautiful, fun, informative, delicious, etc. and I love it. Not as much as I love him, but there’s a close-ish capacity.

It was really hard going over everything and figuring out what I wanted to post on the blog and shoot but I landed on something a little more celebratory with cake.
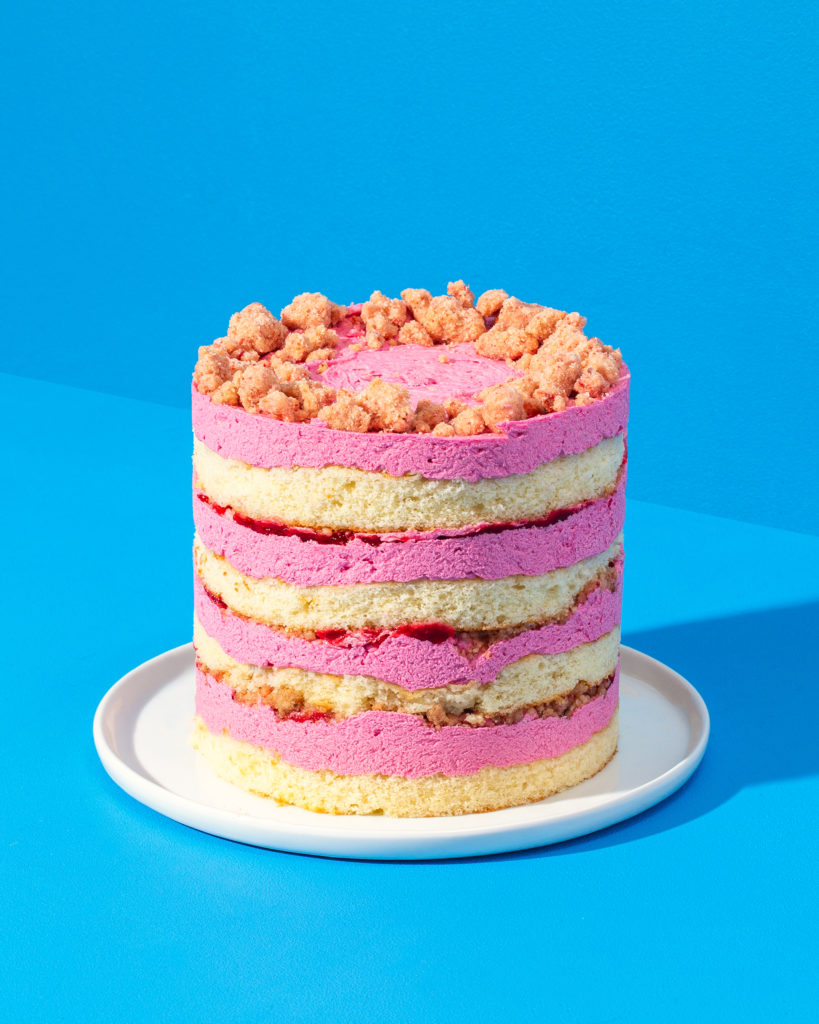
Not just any cake, it’s a strawberry hibiscus cake. Hibiscus tea in the buttercream gives it an insane vibrant color while layers of strawberry filling give it a fruity slap across the face.
His recipe does not look like this in the book, it’s a classic layer cake, buuut the wrecking balls of hands that I was gifted with do not compute making a cute cake. I went with the milk bar naked cake method because it’s nearly foolproof for a good looking cake if you’re into dessert nudity and added some strawberry cake crumbs that are totally optional but not really.
If you’ve ever wanted a fun cookbook, it’s this right here. It’s got all you need to make Mexican food in your kitchen with Crossover recipes to make something familiar you’ve never had before.
This seems like it’s a little daunting but here’s a good plan of attack:
- Bake the cake
- While the cake’s baking make the pudding from the first part of the frosting recipe.
- Start working on the cake crumbs so they can go in the oven right after the cake is done so they can cool.
- Beat together the frosting right before assembly so it’s the freshest and fluffiest, making it easier to spread and assemble.
Strawberry Hibiscus Cake
Adapted from Chicano Eats
Serves 6-8
FOR THE CAKE
21⁄2 cups (315 g) all-purpose flour
21⁄2 teaspoons baking powder
1⁄2 teaspoon Diamond Crystal kosher salt
1⁄2 cup (1 stick/115 g) unsalted butter,
at room temperature
2 tablespoons neutral oil (like vegetable oil)
13⁄4 cups (350 g) sugar
11⁄2 teaspoons vanilla extract
3 large eggs
11⁄3 cups (315 ml) buttermilk
FOR THE HIBISCUS TEA
21⁄2 cups (625 ml) boiling water
11⁄4 cups (44 g) dried hibiscus flowers
FOR THE STRAWBERRY- HIBISCUS FILLING
1⁄4 cup (60 ml) hibiscus tea 11⁄2 tablespoons cornstarch
3⁄4 cups (1100 g) chopped strawberries (from 1⁄4 pound/112 g)
1⁄4 cup (50 g) granulated sugar
1 tablespoon fresh lime juice
FOR THE HIBISCUS BUTTERCREAM
12⁄3 cups (395 ml) hibiscus tea
12⁄3 cups (335 g) granulated sugar
1⁄2 cup (65 g) all-purpose flour
1⁄4 teaspoon Diamond Crystal kosher salt
3 sticks (340 g) unsalted butter,
at room temperature
STRAWBERRY CAKE CRUMBS
2/3 cup all-purpose flour
1 tablespoon corn starch
½ cup white granulated sugar
2 tablespoons light brown sugar
½ teaspoon baking powder
½ teaspoon kosher salt2/3 cup freeze dried strawberries, crushed to get 3 tablespoons crumbs
1/4 cup vegetable or another neutral oil
2 teaspoon vanilla extract
MAKE THE CAKE:
Preheat the oven to 350ºF (180°C). Grease a half sheet pan size baking sheet with non-stick spray and line the bottom with a piece of parchment.
In a medium bowl, whisk together the flour, baking powder, and salt and set aside.
In a stand mixer fitted with the paddle attachment, beat the butter, oil, and the sugar on medium speed until light and fluffy and paler in color, about 2 minutes. Beat in the vanilla extract. Beat in the eggs, one at a time, making sure that each is mixed in before adding the next.
Add one-third of the flour mixture and mix on low to incorporate. Add one-third of the buttermilk, followed by another one-third of the flour mixture, another one-third of the buttermilk, and then finally the last amount of each. Mix just until combined, then use a rubber spatula to scrape down the sides of the bowl.
Add the batter to the prepared baking sheet, smoothing it out with a large offset spatula to get a nice even layer. Bake in the Preheated oven for 20-25 minutes, just until it starts to turn golden brown and a toothpick inserted comes out clean.
MAKE THE CAKE CRUMBS:
Turn the oven down to the 300ºF and line a baking sheet with parchment paper.
In a large bowl mix together the flour, corn starch, sugars, baking powder and salt. Crush up the freeze-dried strawberries not to a complete powder but something that sort of resembles sand. Measure out 3 tablespoons and add to the dry mix.
Stir the vanilla and the oil together and add to the dry ingredients. Mix with a spoon just until it comes together and it starts to clump up, don’t over mix or you’ll end up with too fine of a texture. Add the crumbs to the baking sheet and spread them out into an even layer.
Bake for 12-14 minutes, just until the crumbs start to barely turn golden brown. Remove the pan from the oven and set aside to cool completely.
MAKE THE HIBISCUS TEA:
In a heatproof bowl, combine the boiling water and hibiscus and let it steep for 15 minutes. Strain the tea into a measuring cup.
MAKE THE STRAWBERRY HIBISCUS FILLING:
Transfer 1⁄4 cup (60 ml) of the hibiscus tea to a 2-quart (2 liter) saucepan and let it cool to room temperature. Whisk in the cornstarch until combined, then add the strawberries, sugar, and lime juice. Set the pan over medium heat and cook, stirring occasionally, until the mixture starts to bubble and thicken, then continue cooking for 2 minutes. Transfer the filling to a bowl and place a piece of plastic wrap directly on the surface to prevent a skin from forming. Refrigerate the filling to cool completely.
START THE HIBISCUS BUTTERCREAM:Transfer the remaining 12⁄3 cups (395 ml) hibiscus tea to a 2-quart (2 liter) saucepan. Add the sugar and whisk to combine and dissolve. Sift the flour and salt into the saucepan, set the pan over medium heat, and cook, whisking occasionally, until the mixture starts to bubble. Reduce the heat to medium-low and cook for an additional 2 minutes. Transfer the hibiscus pudding to a large plate and press plastic wrap directly on the surface to prevent a skin from forming. Refrigerate to help it cool completely.
Once you’re ready to assemble the cake, take the hibiscus pudding out of the refrigerator and let it sit for 30 minutes, to bring to room temperature. In a stand mixer fitted with the whisk attachment, beat the butter on medium speed until it becomes lighter in color and texture, about 1 minute. With the mixer on medium speed, add the hibiscus-pudding mixture 1 tablespoon at a time, until half the mixture has been added. Scrape down the sides of the bowl and repeat with the remainder of the hibiscus-flour mixture. Scrape down the sides and bottom of the bowl and turn the mixer to high. Beat the buttercream for 2 full minutes more, until light, smooth, and fluffy. If your hibiscus pudding happens to be cold when you go to add it to the butter, the butter will curdle up. Simply let the buttercream sit for 15 to 20 minutes, then whip it again.
TO ASSEMBLE:
Use the cake ring to cut out circles of the cake. You should be able to get 4 full cake rounds out of the cake, just make sure you start cutting in the far corner of the cake to end up with enough room.
Clean the cake ring and set the ring on a plate or cake stand, whatever you’re choosing to serve it on. Place the strip of acetate inside the ring and carefully add the first cake layer to the bottom of the cake pan. Add about 3/4 cup of the hibiscus frosting (use a 2oz ice cream scoop to measure it out easily) and spread it out carefully. Use a bent spoon like Christina Tosi does here to make it easier. Add a thin layer of the smaller sized cake crumbs, saving the larger pieces for the top) and top that with 1/3 of the strawberry hibiscus filling, placing little dots of it evenly over the cake crumbs then spreading it out with the bent spoon, carefully, but don’t worry too much about the layers sort of mashing together.
Repeat the process 2 more times then place the last cake layer on top and spread about 3/4 cup of frosting and smoothing it out, making sure that this layer is the smoothest since it’ll be showing. After the final layer of frosting, place the large cake crumbs that you have left around the edge of the cake, or just all over the top if you want then place the whole cake in the refrigerator for at least 2 hours, preferably for 4, so the the frosting has a chance to fully set and the cake can sort of become 1.
Once you’re ready to serve, just lift up the cake ring and remove the acetate to reveal the perfect sides of the cake.

