 It’s just one month until summer begins which means it’s time to step your marshmallow game UP.
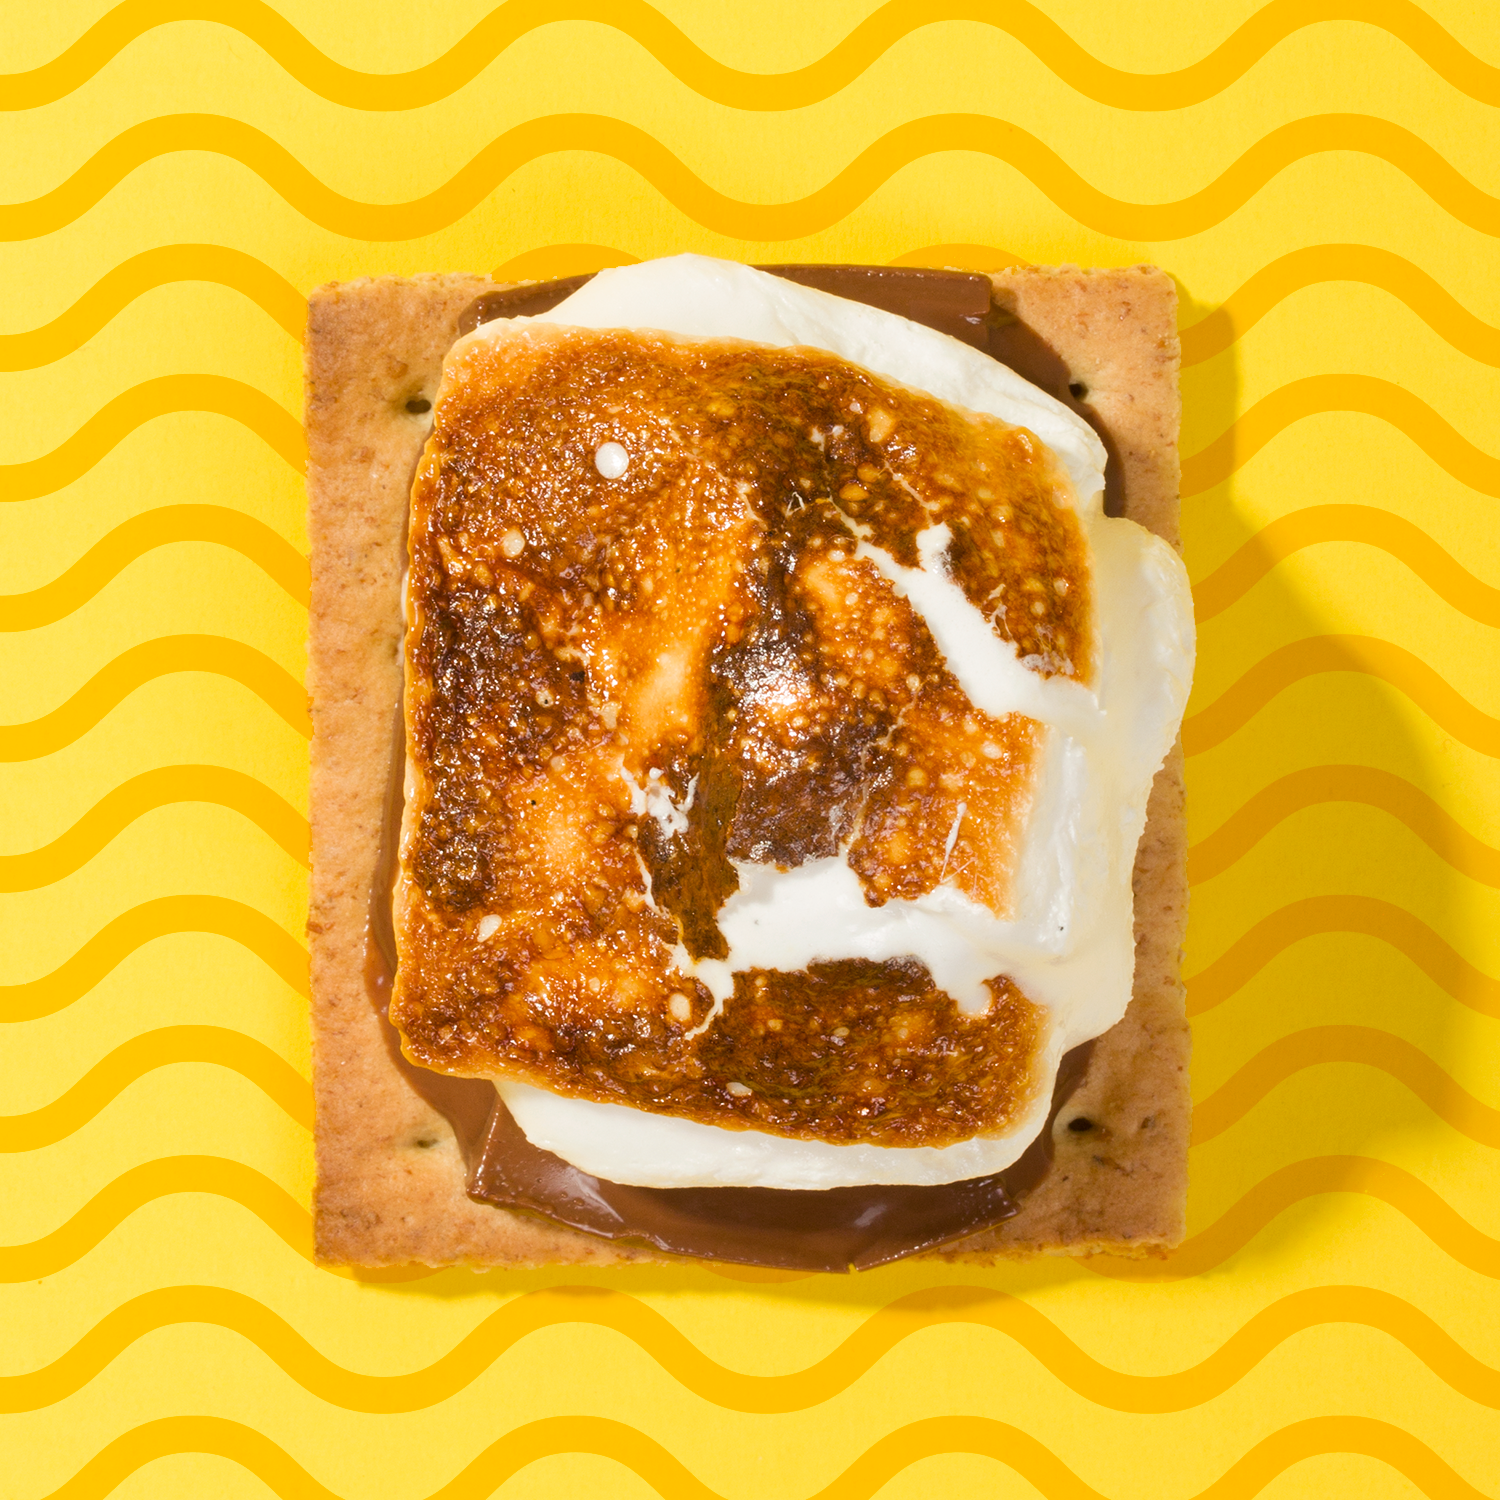
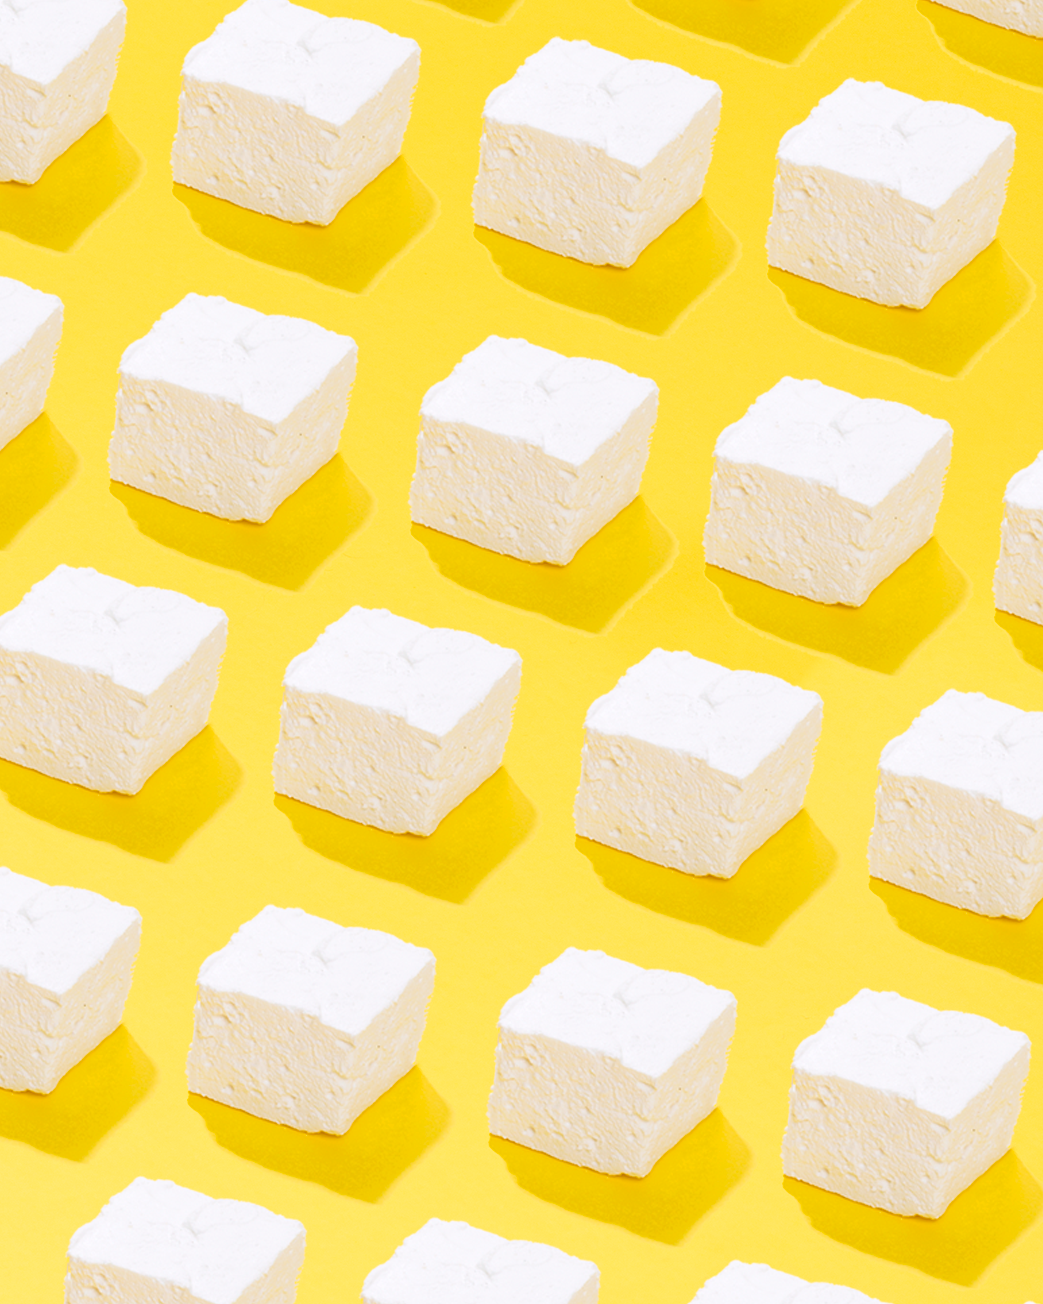
We all know that when it’s time for s’mores you head to the store and grab a big bag of those giant marshmallows, burn them up, and smash them between some graham cracker and chocolate. OR you can be like me and put them into a popsicle. If you really want to impress people though, you make these basic vanilla marshmallows and watch people go ramona eyes because homemade > storebought in the battle that is marshmallow.
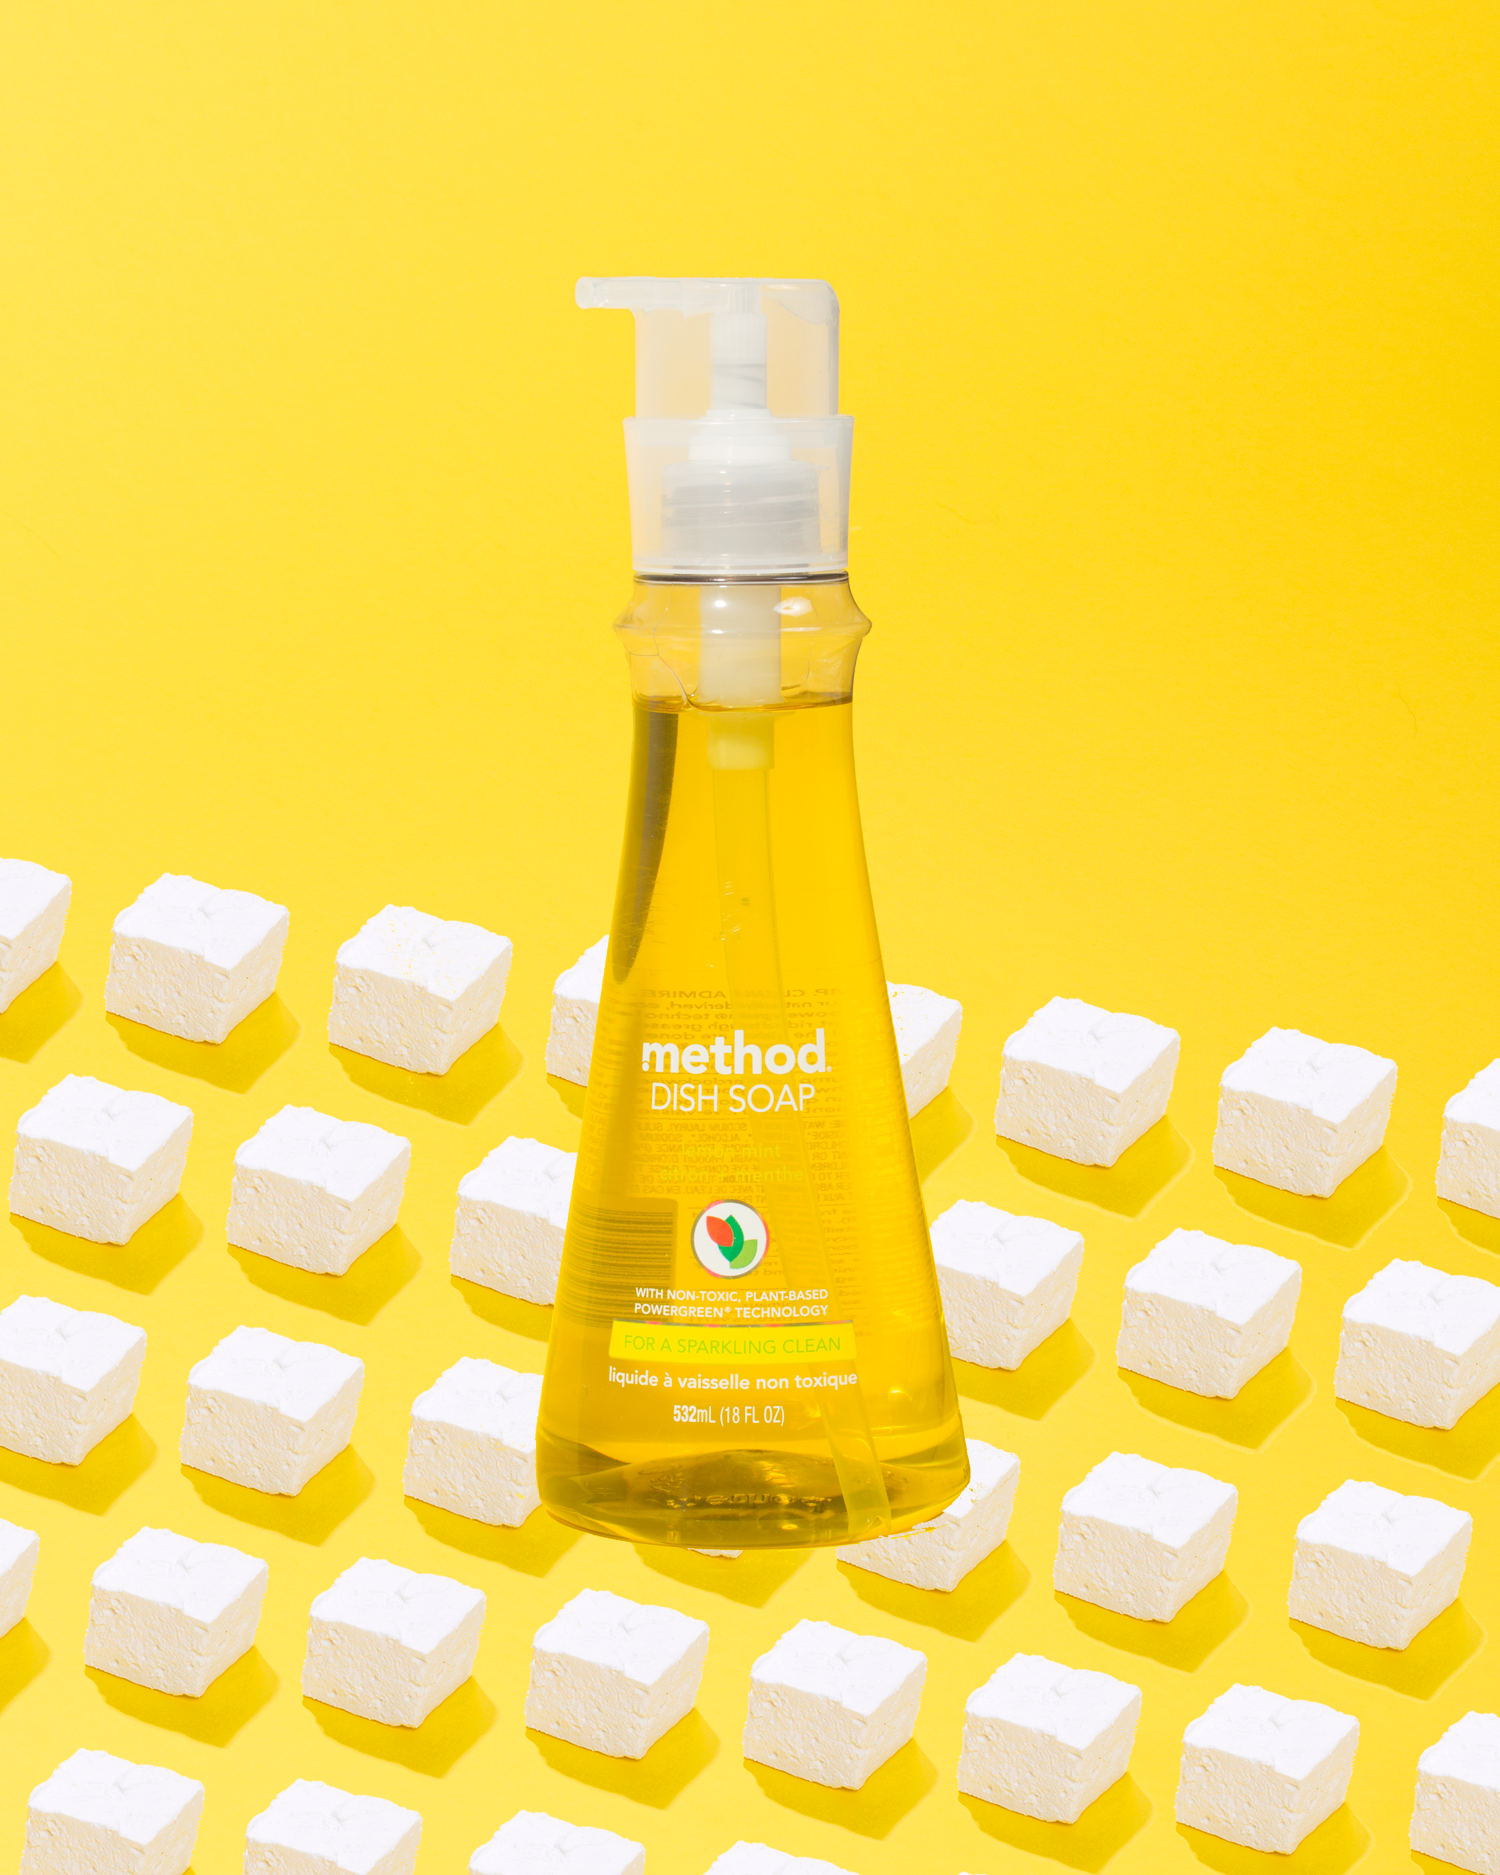
 This timing for marshmallow season is even more perfect because the kool kids over at method home are working on a #fearnomess campaign where they asked a bunch of people to create something in the home/kitchen that involves a mess but girl don’t be scared because their soap can take care of business. Now, MTV True Life: I only work with brands I actually use/appreciate, and this couldn’t be more true with method. Before they even approached me I could’ve easily gone under my sink and pulled out the giant refill bags of the Sea Mineral scent because that stuff is life. I love the way their soap cleans and it doesn’t hurt that their products are biodegradable and made from recycled materials.
 As soon as I saw that it was a fear no mess campaign and they wanted me to make something messy I was like, stop talking, I’m making marshmallows. Because if there’s anything more messy than marshmallows that’s not the bowl of melted butter I dropped one time then I want to know about it.
If you’ve ever made marshmallows before you know what I’m talking about. By the time these are done there’s marshmallow everywhere and just when you think you’ve cleaned it up you find more.
It’s the glitter of the culinary world.
 BUT, it’s totally worth it you guys. Homemade marshmallows are just fluffier but somehow more firm and there’s actual flavor in them, more than just, well, sugar.
And then even better news is once you get them down pat you can easily customize them with whatever you want by replacing some of the water with juice or adding peppermint extract or freeze dried berries or matcha. Just figure all that out now so when it comes time for summer s’mores you can Beyoncé that campfire party.
Vanilla Marshmallows
makes about 25 marshmallows
I know this uses corn syrup, there’s not really a way to get around that, just embrace it
2/3 cup water, divided
2 × (¼ oz) packets gelatin
1 cup white granulated sugar
⅔ cup light corn syrup
¼ teaspoon coarse kosher salt
1 1/2 teaspoons vanilla bean paste or 2 teaspoons vanilla extract
for the marshmallow coating:
1 tablespoon cornstarch
3 tablespoons powdered sugar
In the bowl of a stand mixer, pour 1/3 cup of water, sprinkle over the gelatin, and gently mix to make sure all the gelatin is in contact with the liquid.
In a medium saucepan combine the granulated sugar, corn syrup, salt, and the remaining water. Cook over a medium heat, stirring occasionally, until the mixture reaches 240°F on a candy thermometer, this should take about 4–6 min.
With the mixer on low, slowly pour the hot sugar mixture into the stand mixer bowl along the side so the whisk doesn’t fling hot sugar liquid everywhere. Once it is all in there, kick up the mixer to a notch below the highest setting and let it go until light, fluffy and the bottom of the bowl that was hot is now barely warm. Make sure the mixer runs at least 10 minutes, this ensures a sturdy mallow. Add the vanilla bean paste and go for about 30 seconds more.
While this is happening you can prep the pan. Mix the cornstarch and powdered sugar together in a bowl and set aside. Lightly grease a 8 × 8 in pan, then sift in most of the marshmallow coating, making sure all the sides are lightly covered; it helps to sift a bunch in, tap the sides and bottom, and rotate the pan. Reserve a couple of tablespoons of coating for later.
Once the marshmallow mixture is done, quickly scrape it into the prepared pan and smooth it out. It’s gonna be sticky but just deal with it and don’t freak out. Once it’s in the pan and probably freakishly sort of smoothed out, sift a tablespoon of coating on the top. Boom, congratulations, you’ve just made marshmallows.
Let the pan sit out for at least 4 hours, probably closer to 6 just to be safe, then pop the marshmallows out onto a cutting board and carefully cut into 2½ or 4 cm (1 or 1½ in) squares using a sharp knife or a pizza cutter, or a small round biscuit cutter.
Once they’re all cut up, toss in a gallon size zip-top bag, sift in the remaining tablespoon of coating and shake the bag to get all the sides coated. Store in the zip-top bag for up to 2 weeks.

